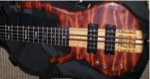
Not bad, not bad. I can't quite decide if that's "too vintage" for what I'm trying to achieve. I am definitely going for a groovy 1970s vibe; I think this look may be closer to 1950s/1960s style. It looks great on a Tele.fivebass52 wrote:Click this link and scroll down to see more pics of the front..... http://www.tdpri.com/forum/telecaster-d ... -tele.html
New DIY Custom Jazz
-
Brett Zeppelin
- Posts: 99
- Joined: May 2nd, 2013, 1:26 pm
- Location: Santa Cruz, California
Re: New DIY Custom Jazz
-
fivebass52
- Posts: 3628
- Joined: November 26th, 2008, 6:14 am
- Location: Oahu, Hawaii
- Contact:
Re: New DIY Custom Jazz
Agreed, but I just hate to see beautiful grain get painted over.... 
R&B Stretch Bass, Walter Woods 1000w Green-Light Stereo Amp, AccuGroove El Whappo and TR112, assorted axes, amps, cabs...
http://www.myspace.com/thestrangershawaii
http://www.myspace.com/thestrangershawaii
-
Brett Zeppelin
- Posts: 99
- Joined: May 2nd, 2013, 1:26 pm
- Location: Santa Cruz, California
Re: New DIY Custom Jazz
Pic/project update!
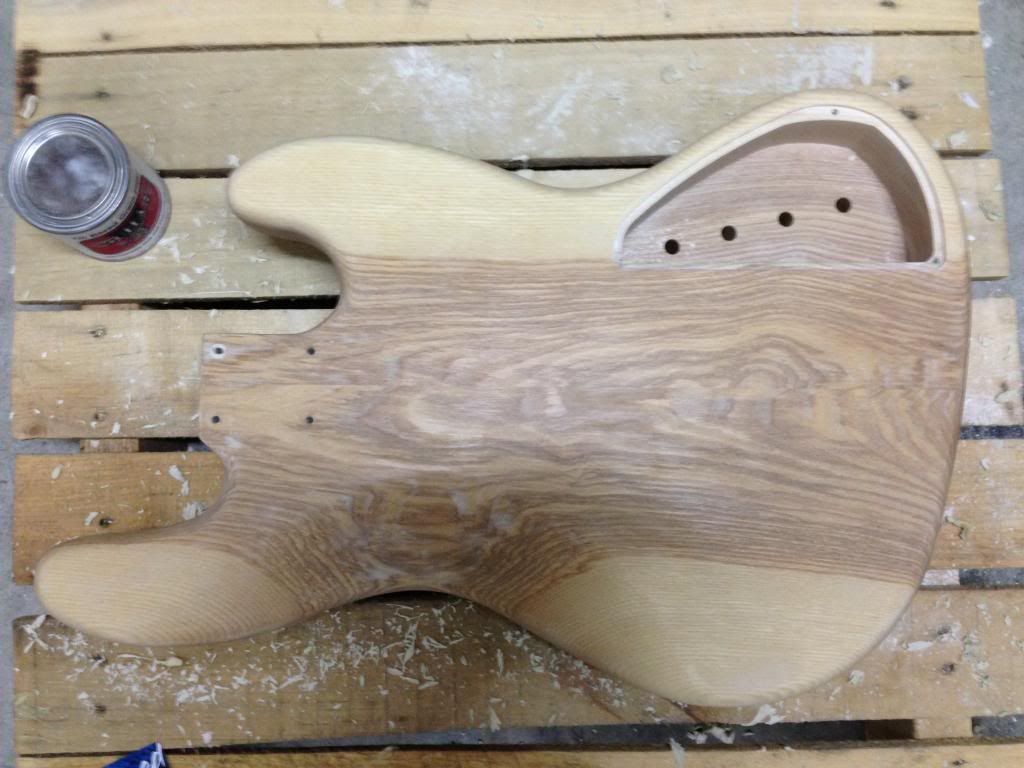
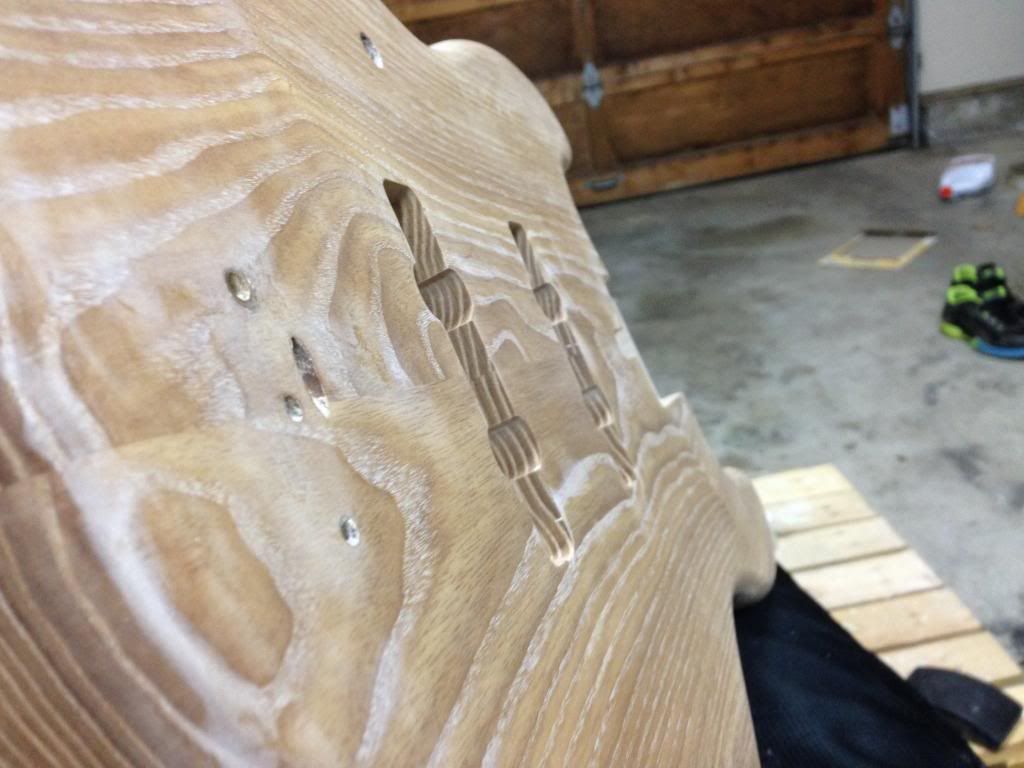
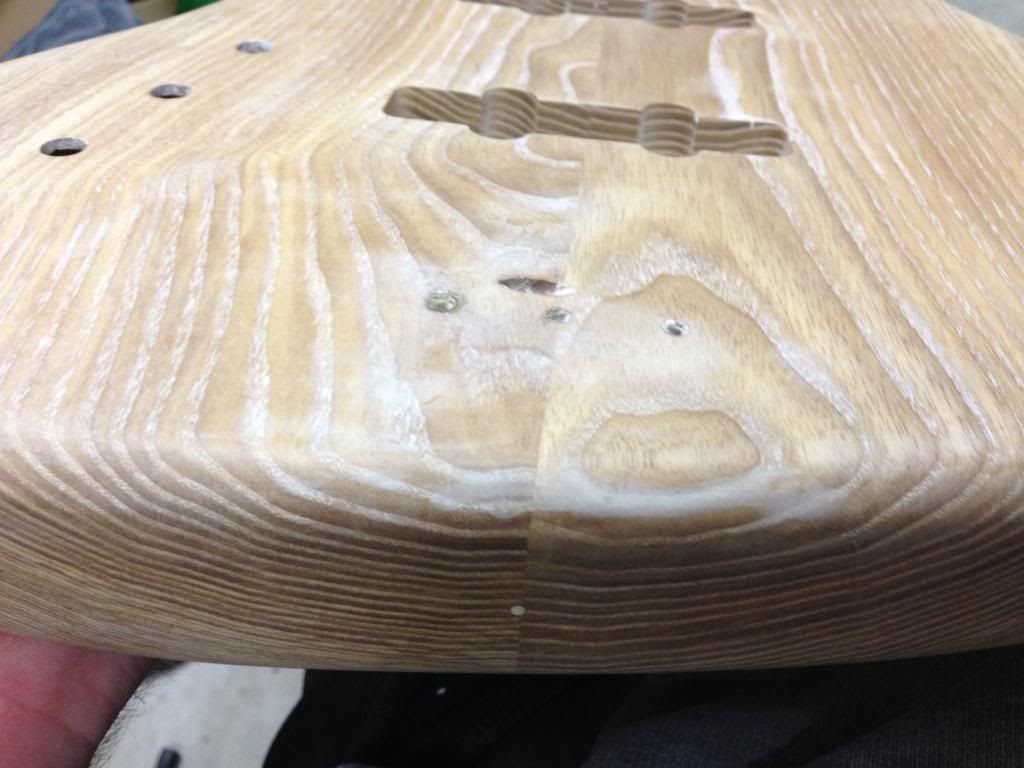
The guy is working on the body and is nearly completed. The image can be seen below. He had to build a new neck because there was a slight misunderstanding with how I wanted it built, so what you see below is actually a new neck. He made the first one with a 7.5" radius instead of 9.5". He was totally cool with redoing it for the more traditional jazz bass style 9.5" and he ended up selling the one you all saw in the first pic on eBay.
Anyway, the project is moving along. I'm very excited.
- Raw Pieces, 2013-09-22.jpg (265.58 KiB) Viewed 10436 times
-
sblueplanet

- Posts: 212
- Joined: September 5th, 2010, 12:47 pm
- Location: Bonnie Scotland
Re: New DIY Custom Jazz
Always nice to see pics of the real thing start to emerge.
Four Strings Are All You Need
-
Brett Zeppelin
- Posts: 99
- Joined: May 2nd, 2013, 1:26 pm
- Location: Santa Cruz, California
Re: New DIY Custom Jazz
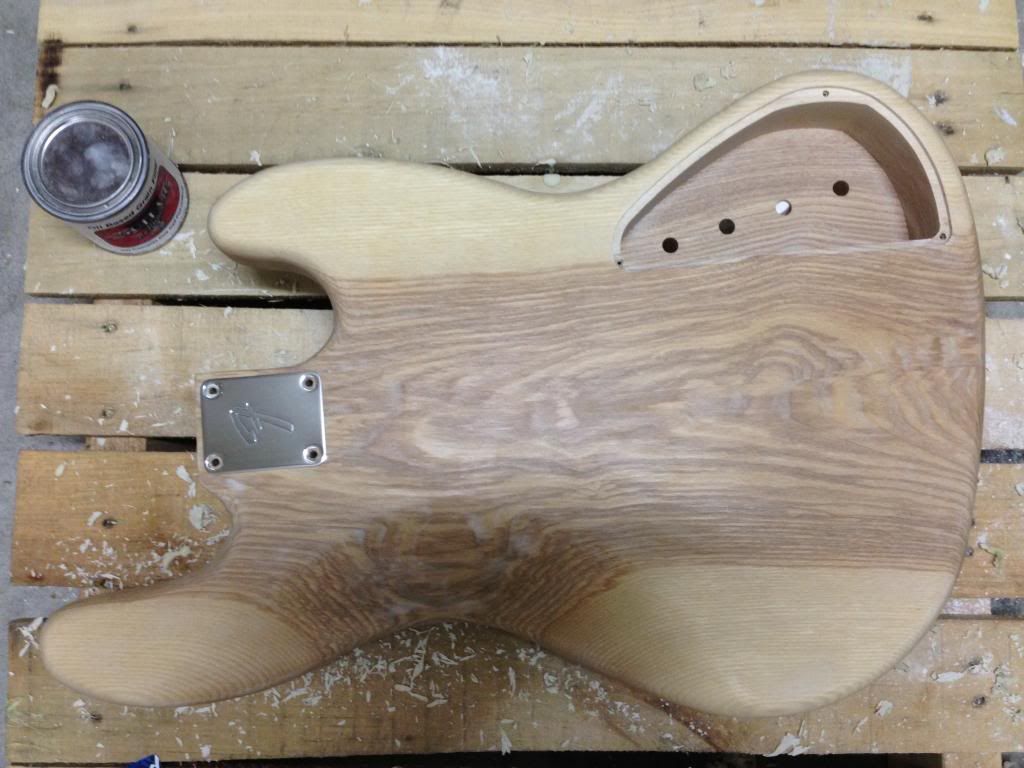
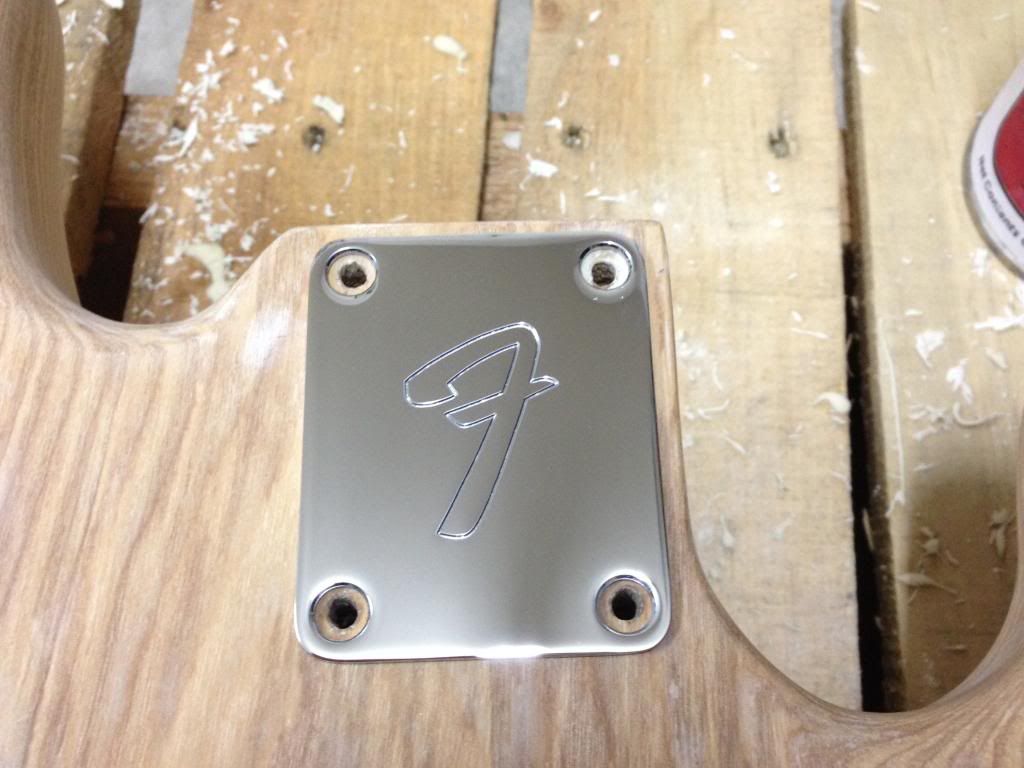
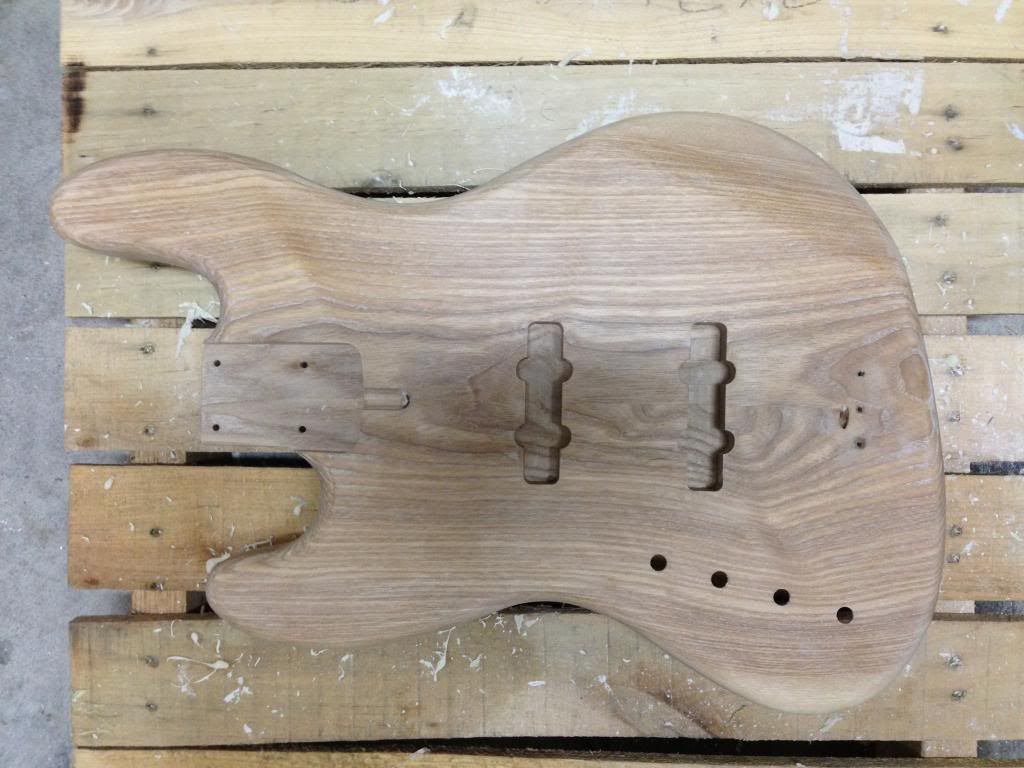
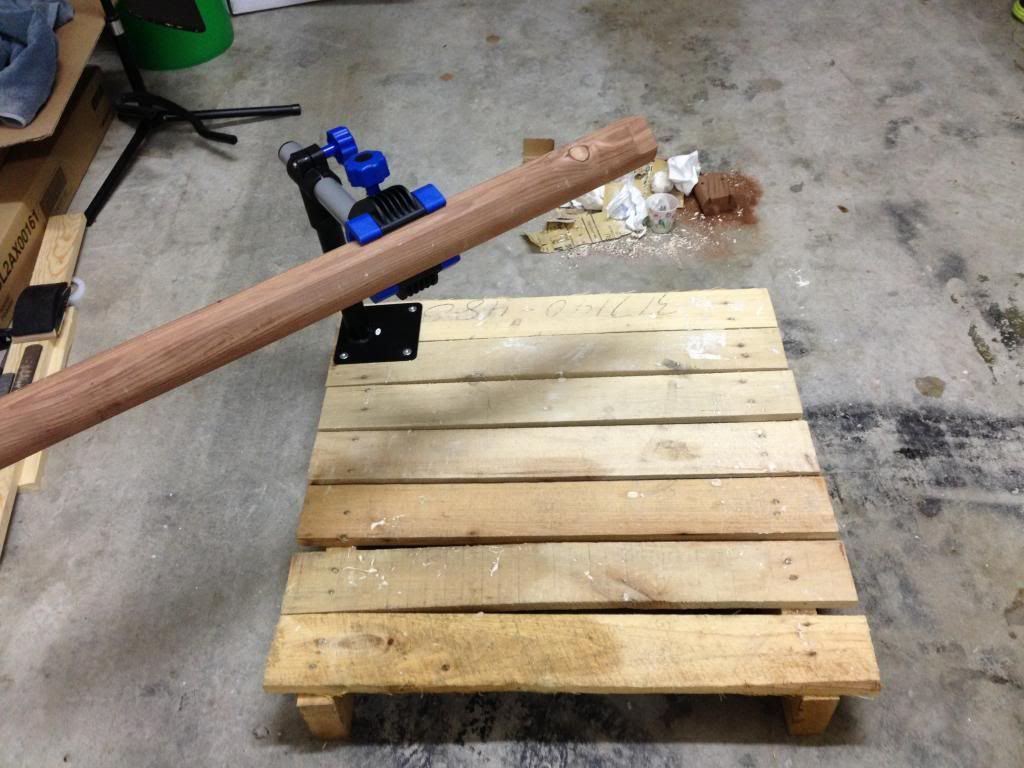
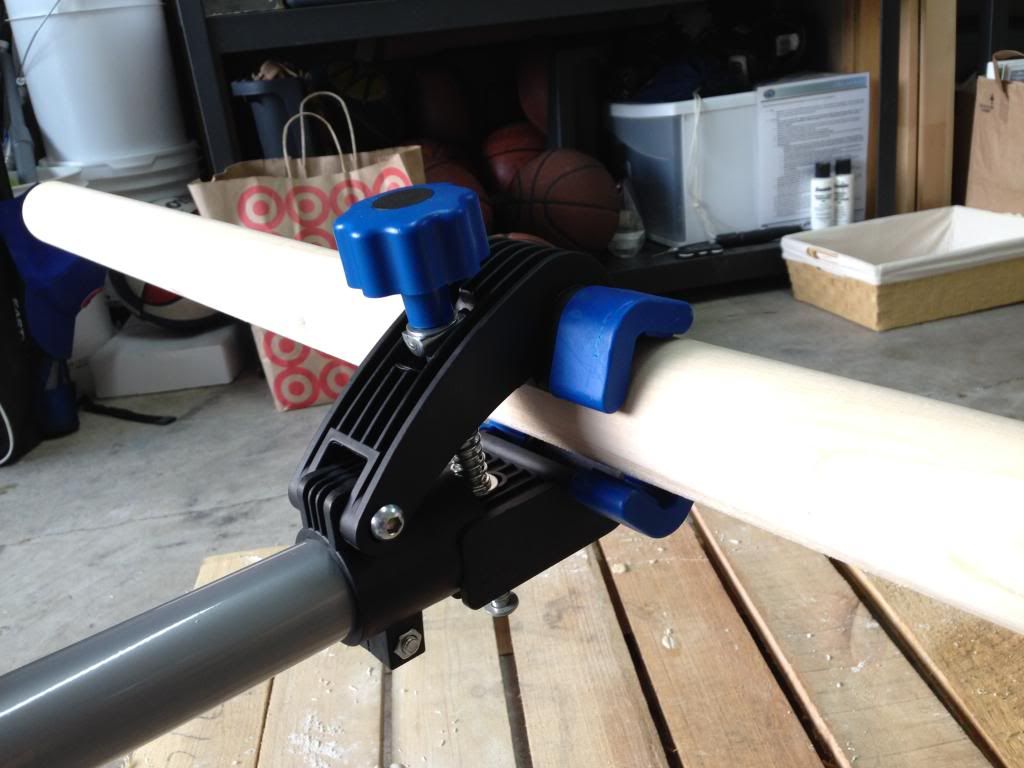
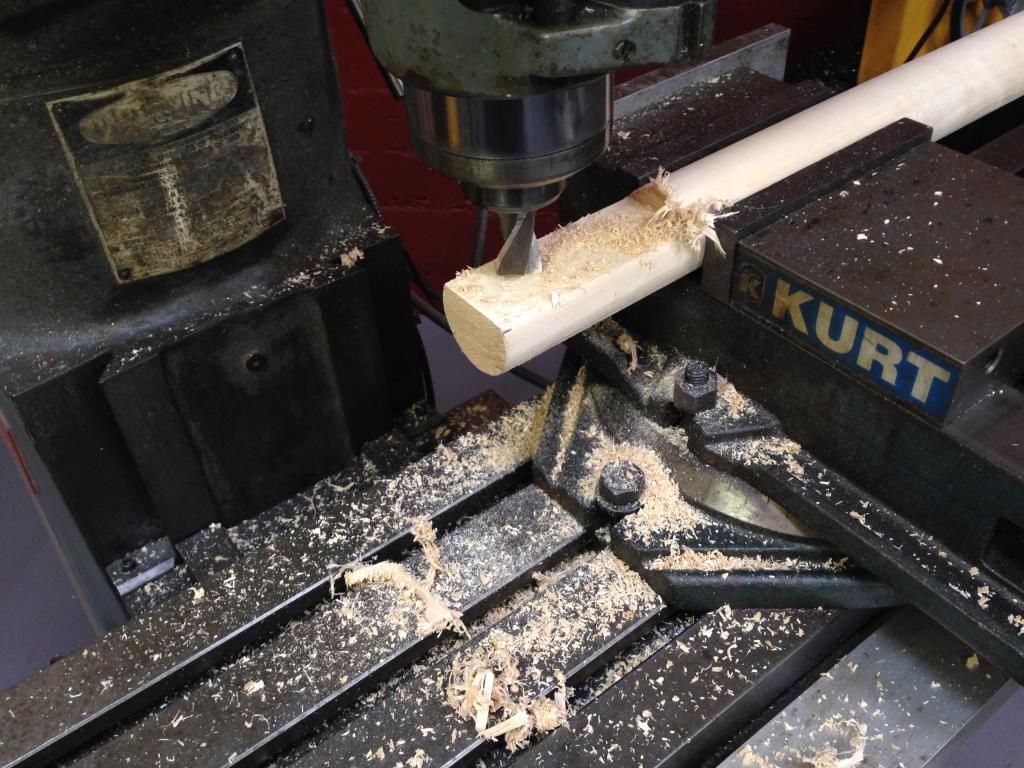
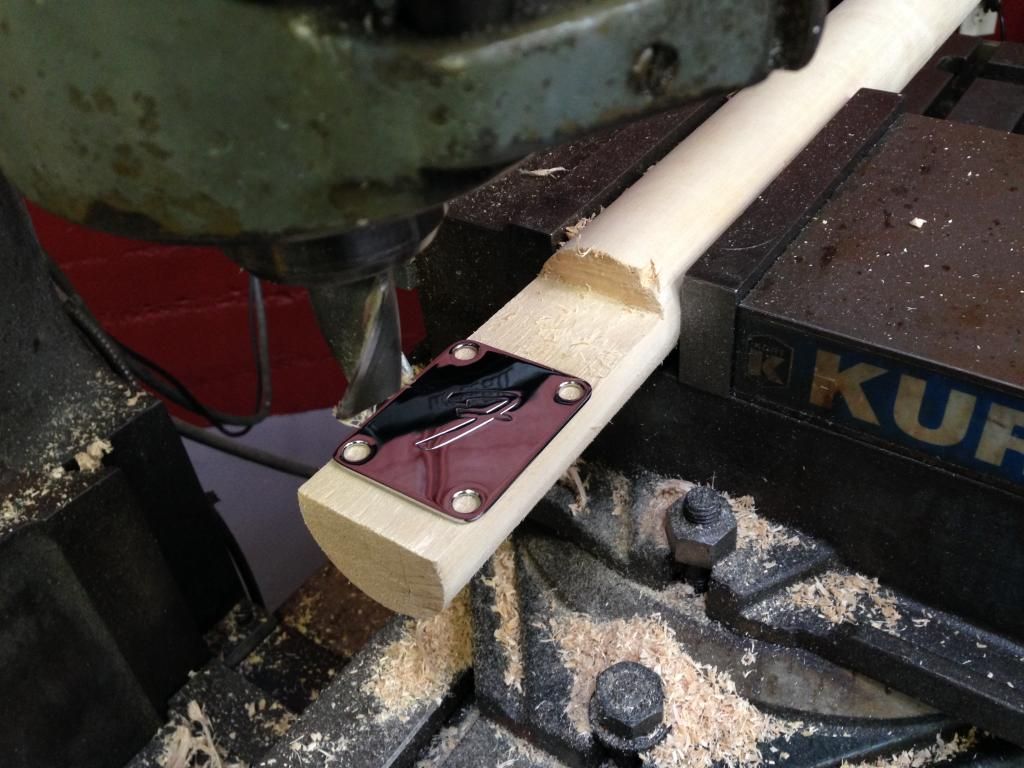
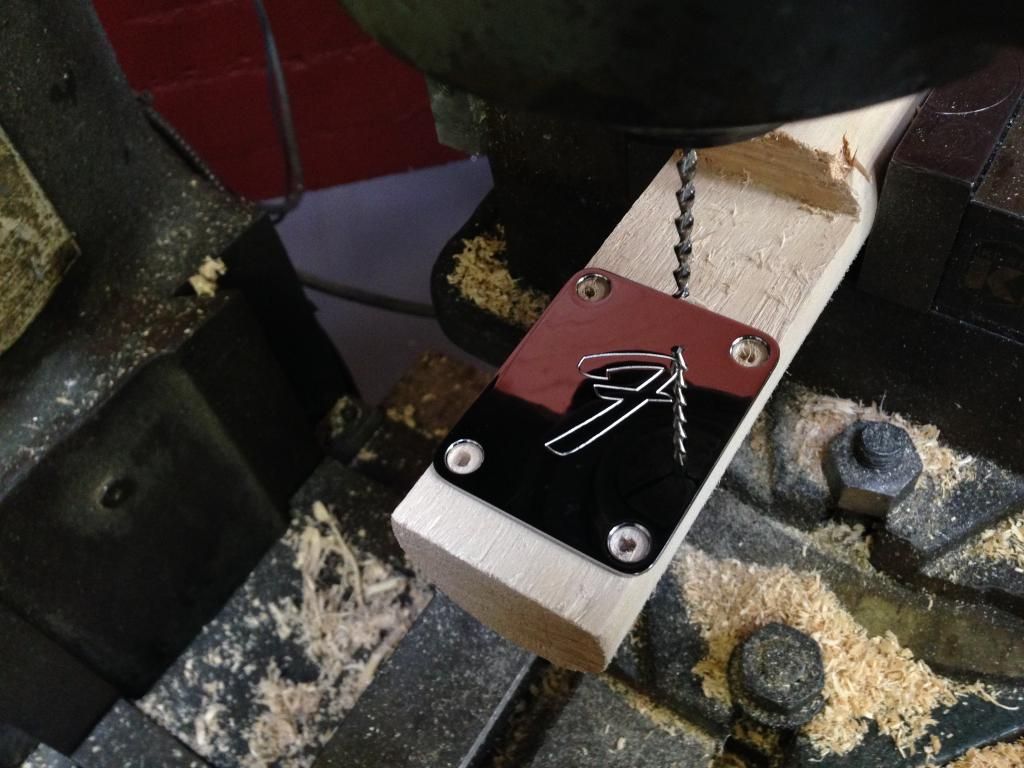
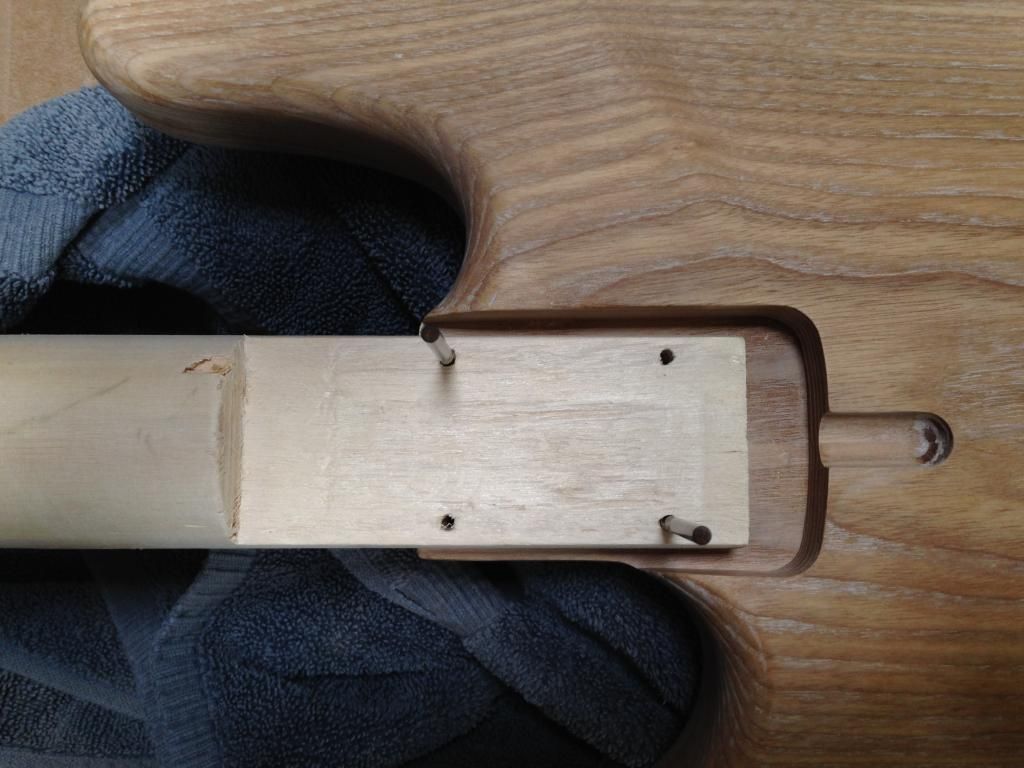
A couple more pics just received today. This time, we are completely done and I should be getting this shipped today. Below are mock-ups of the raw pieces and the hardware that I sent to him for reference while manufacturing. Finishing and painting to start soon! 

- Jazz Bass Raw Pieces Mock-up 01.jpg (275.31 KiB) Viewed 10381 times
- Jazz Bass Raw Pieces Mock-up 02.jpg (273.47 KiB) Viewed 10381 times
-
sblueplanet
- Posts: 212
- Joined: September 5th, 2010, 12:47 pm
- Location: Bonnie Scotland
Re: New DIY Custom Jazz
Looking mega.
Are you going to put a name on the headstock? If so, what you going to call it?
Are you going to put a name on the headstock? If so, what you going to call it?
Four Strings Are All You Need
-
Brett Zeppelin
- Posts: 99
- Joined: May 2nd, 2013, 1:26 pm
- Location: Santa Cruz, California
Re: New DIY Custom Jazz
Thanks! I am super-excited, to say the least. The bass does not yet have a name, but "she" has a gender. It's sort of like when you have a child: you have a few names in mind while they're cooking, but only when they are actually born and you see them for the first time can you give them a fitting name. At least that's how it is/was for me!sblueplanet wrote:Looking mega.
Are you going to put a name on the headstock? If so, what you going to call it?
I haven't decided on whether I'll be putting a logo on the headstock, but if I do it may be a simplified version of this:
I would probably lose the drop shadow and then darken the main areas.
-
Brett Zeppelin
- Posts: 99
- Joined: May 2nd, 2013, 1:26 pm
- Location: Santa Cruz, California
Re: New DIY Custom Jazz
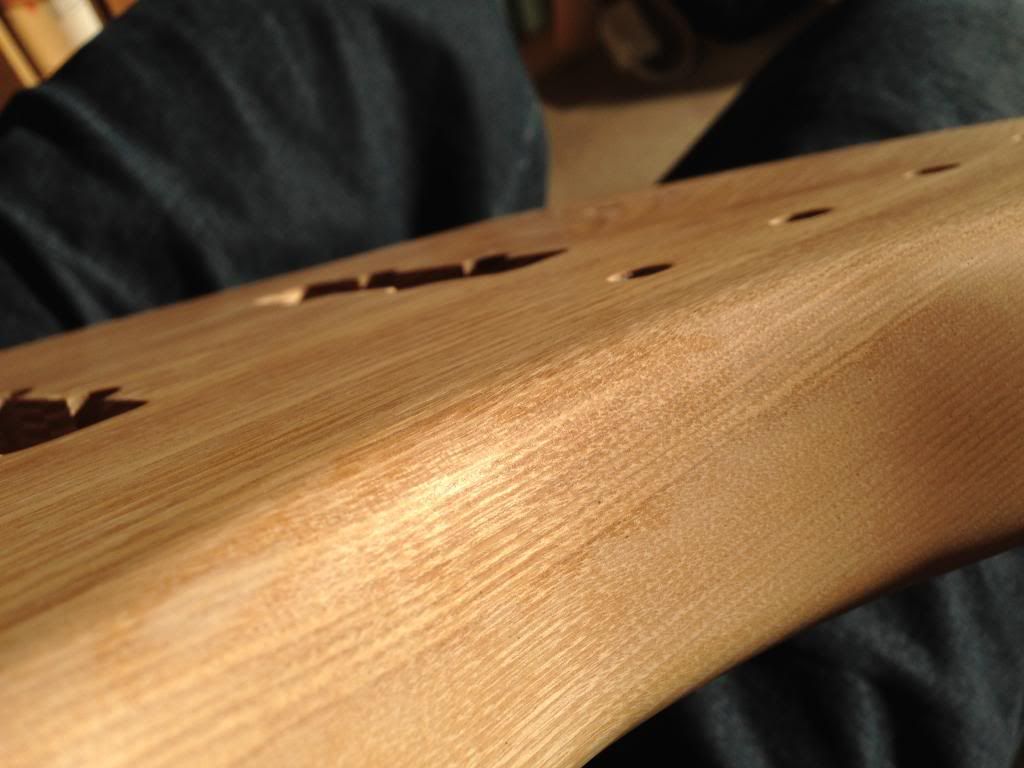
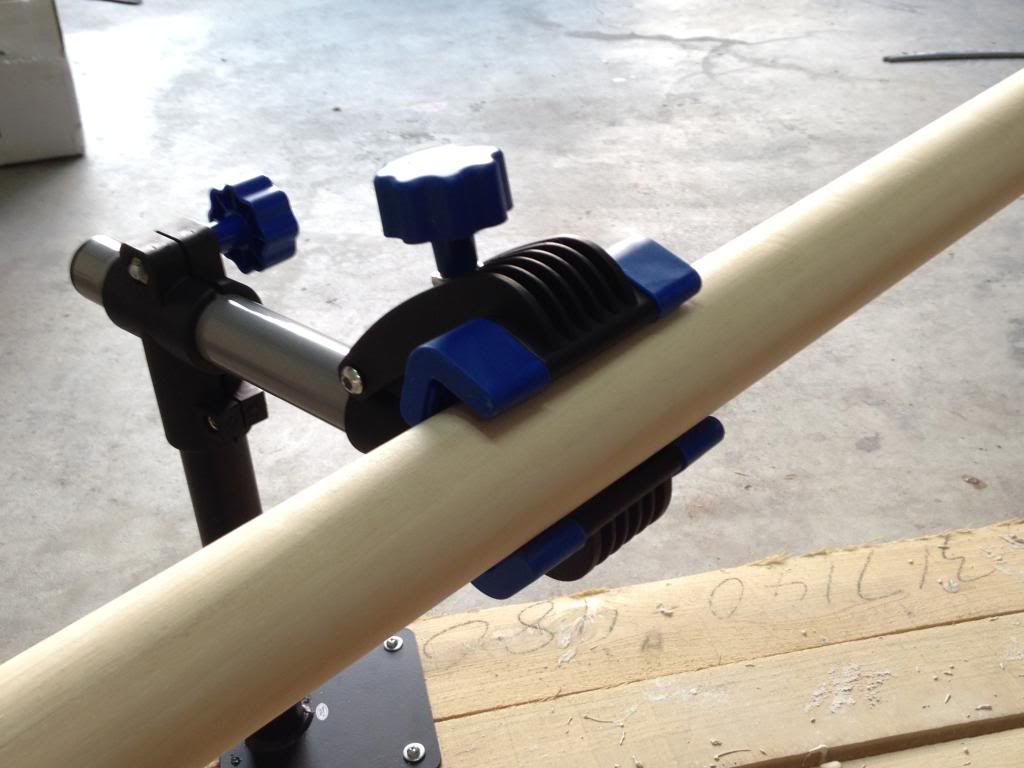
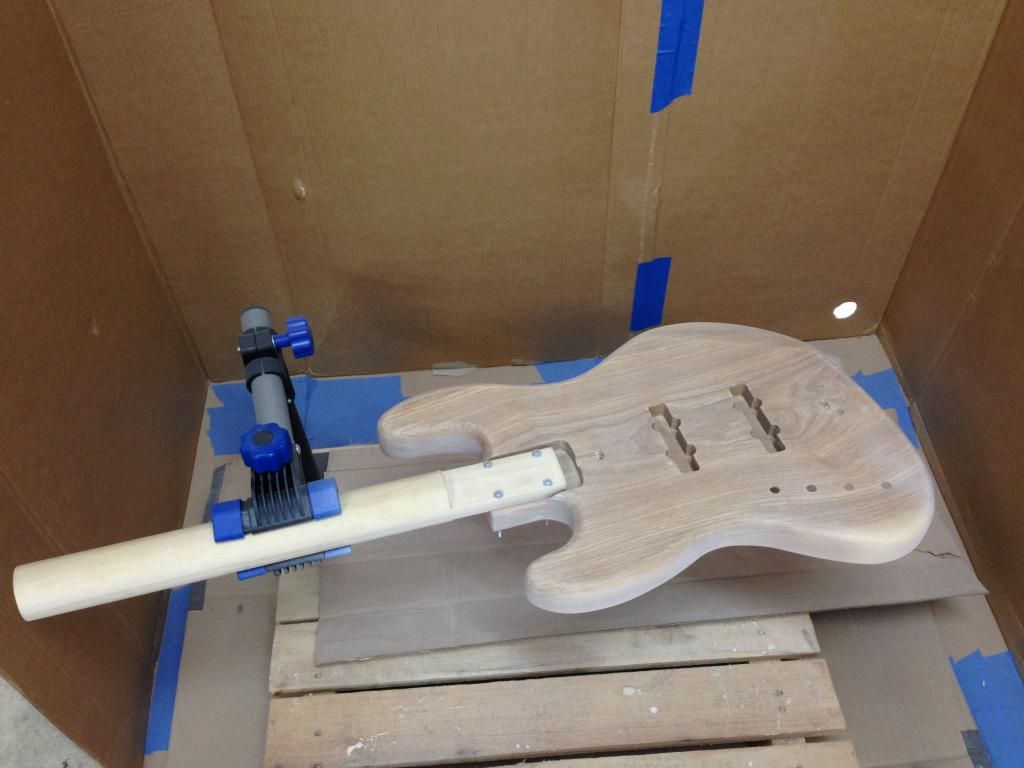
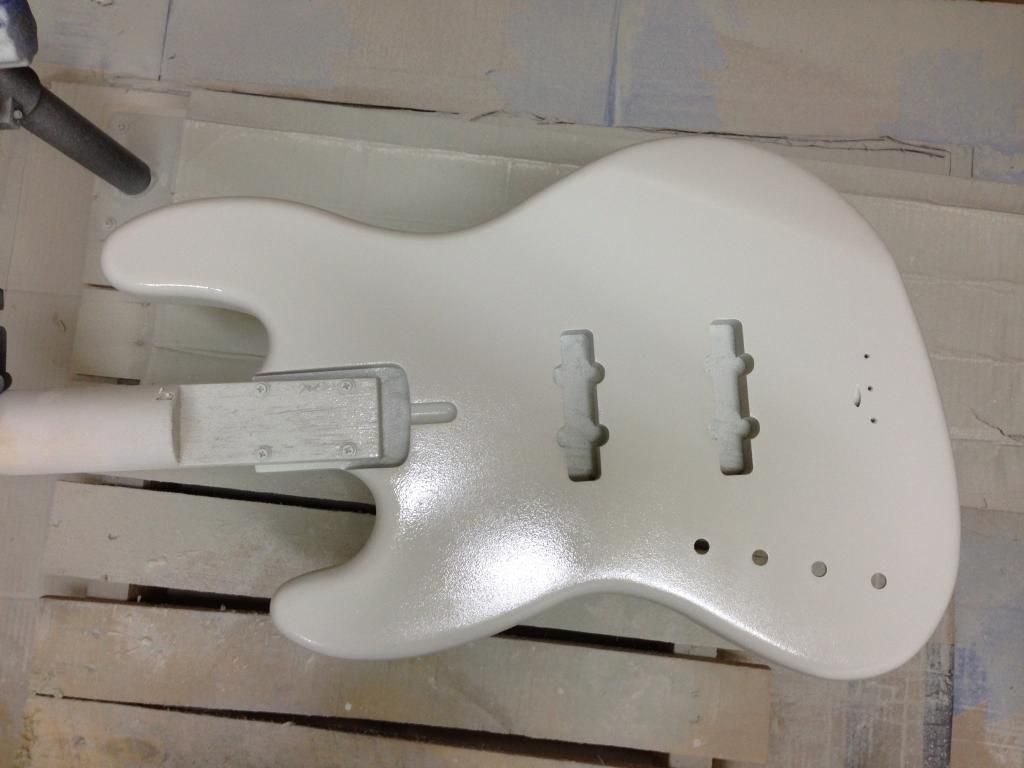
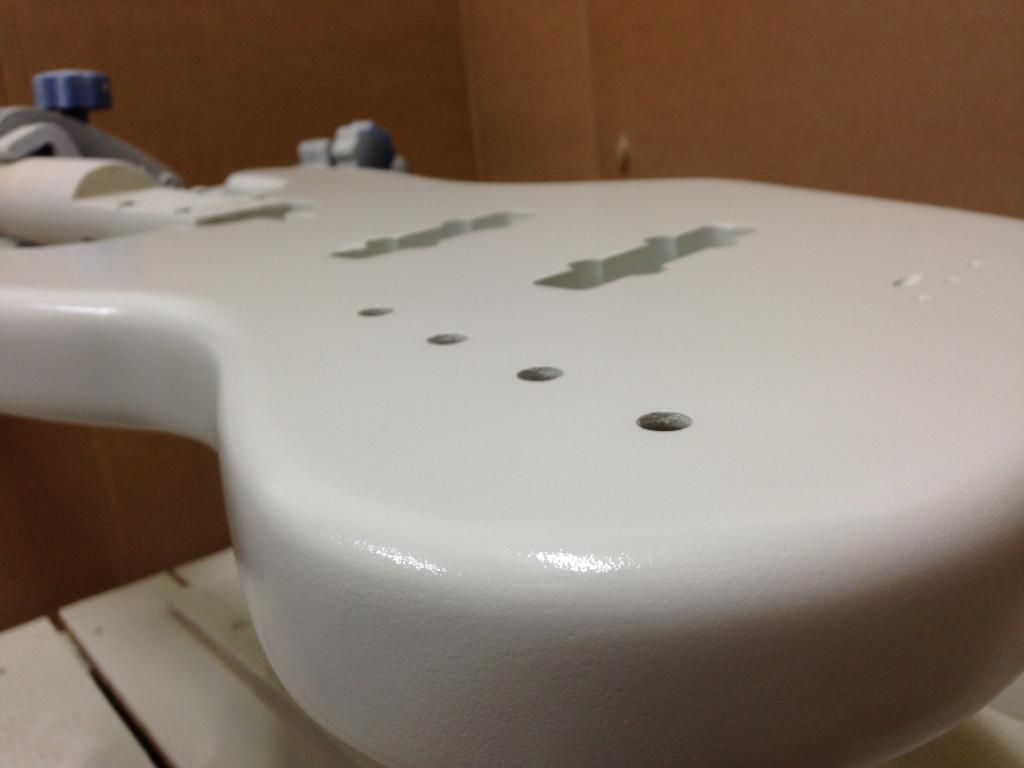
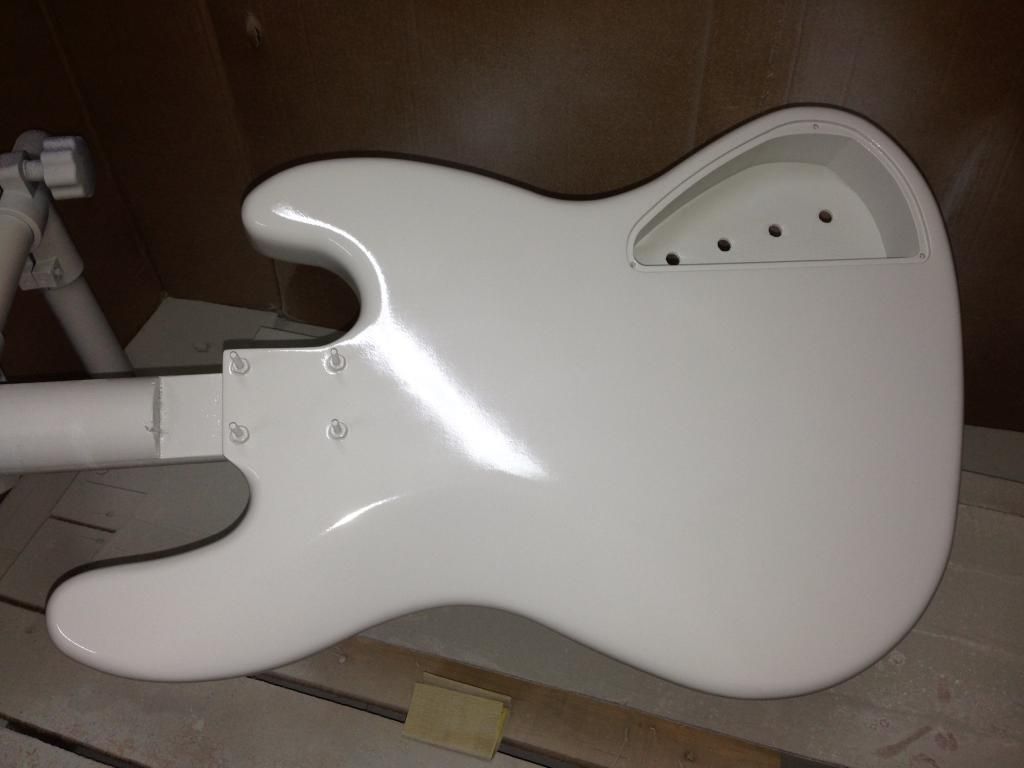
I haven't updated in approximately forever, but I have been hard at work on this thing. Here are some progress pics in chronological order, starting with the oldest pic first...
Grain-filling:
Fine-touch grain-filling:
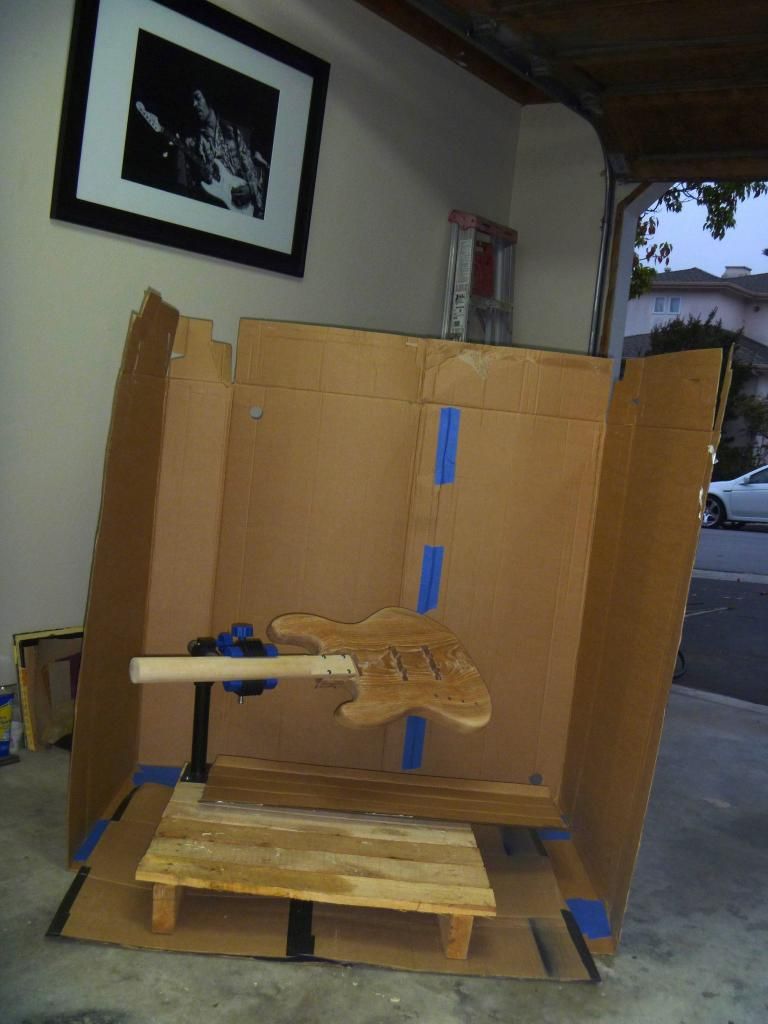
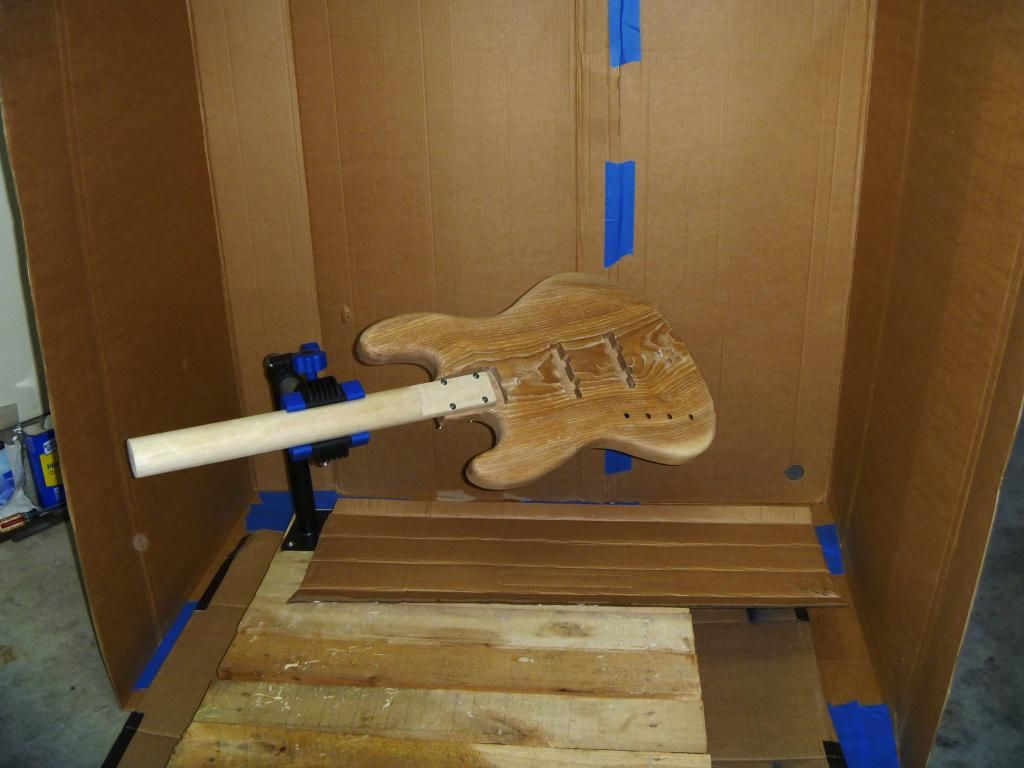
Homemade paint booth setup:
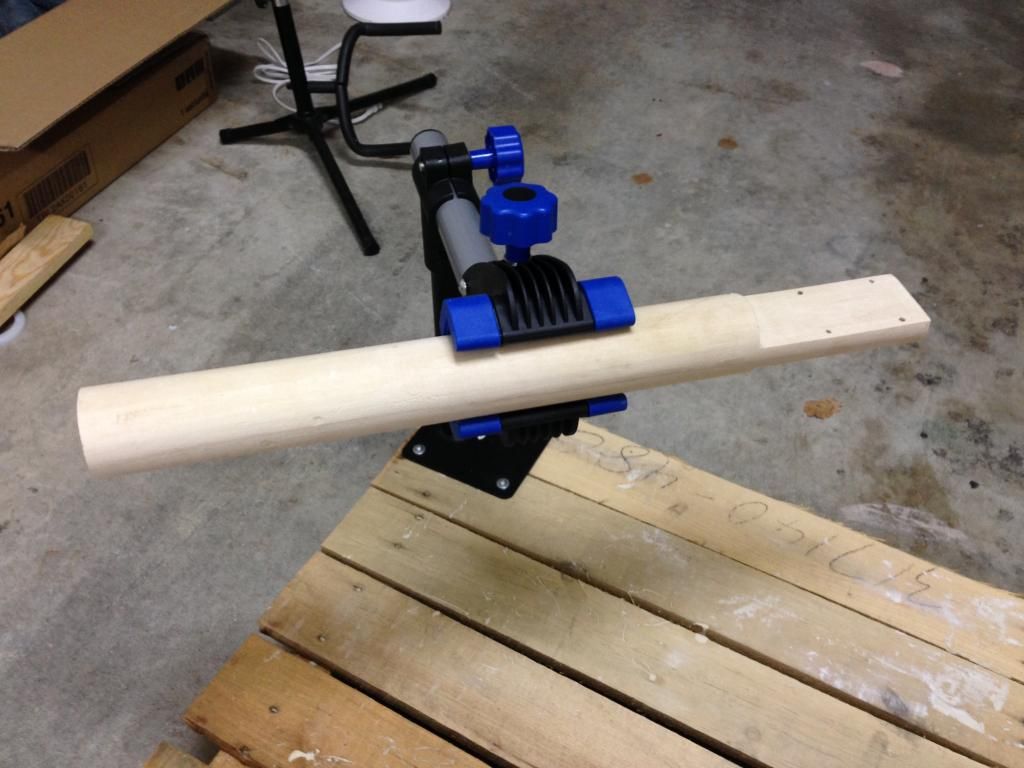
Custom pseudo-neck:
Homemade paint booth and pseudo-neck — ready for painting (well, further prepping anyway):
Priming:
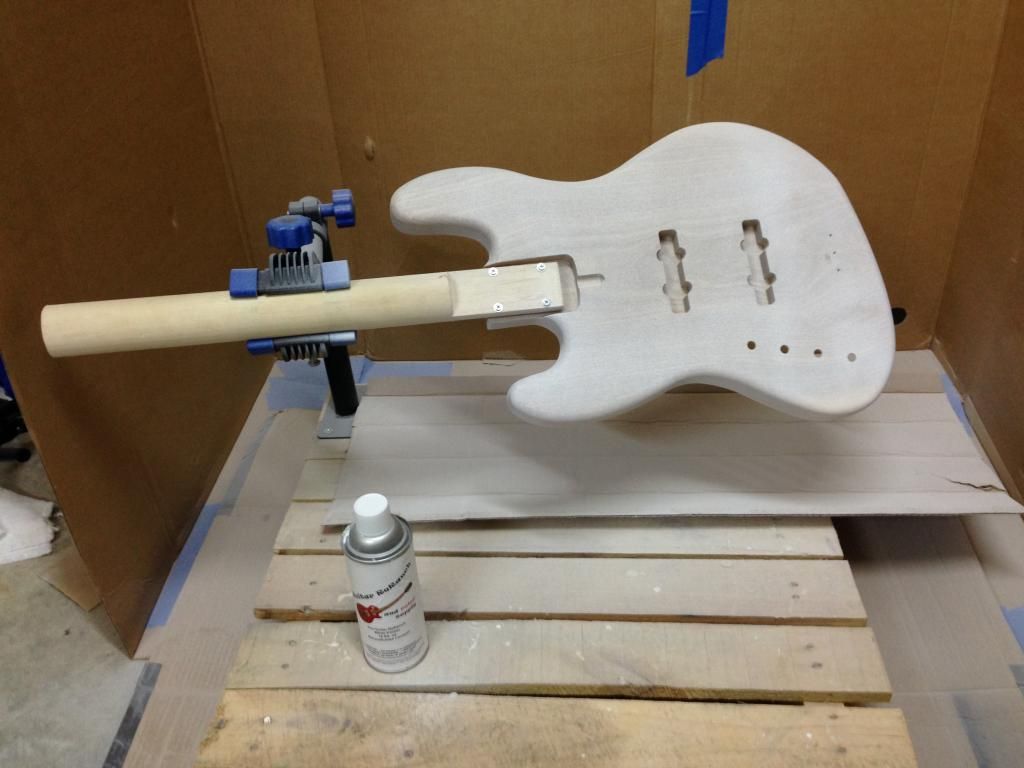
Painting, first coat:

Painting, second coat:
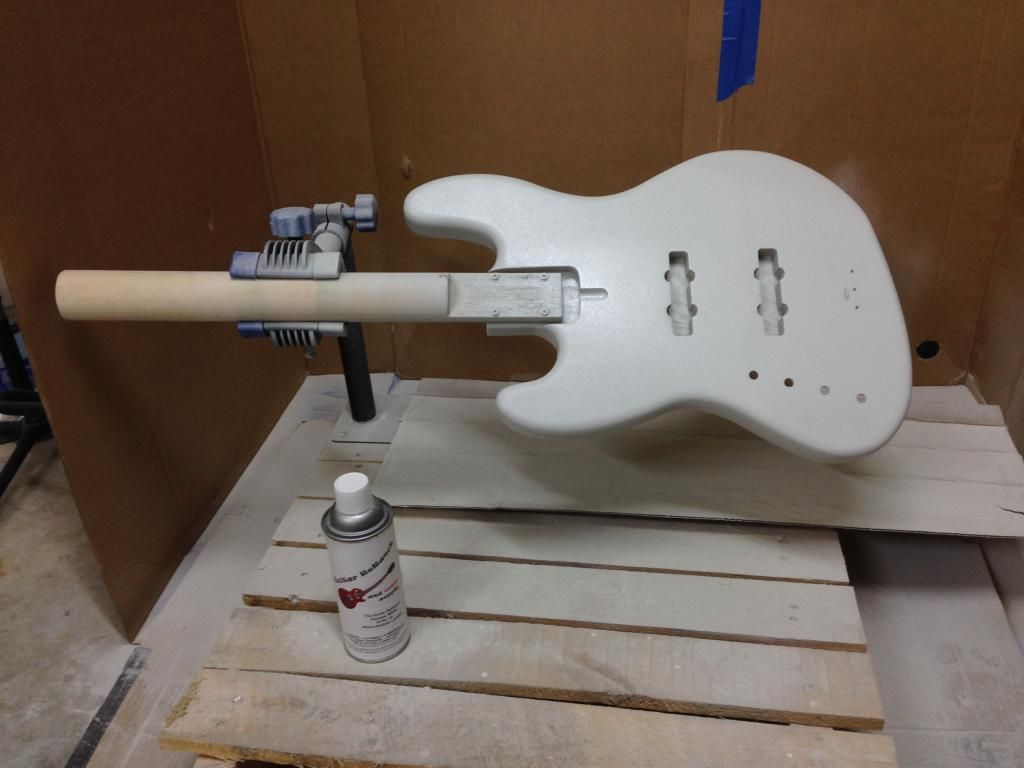
Painting, third coat:

Note: at about this time, I was really questioning whether I was applying the paint correctly. It turns out I was really just too far away from the surface of the body. After this point is when I really started "figuring it out" although of course I am still very much just a beginner...
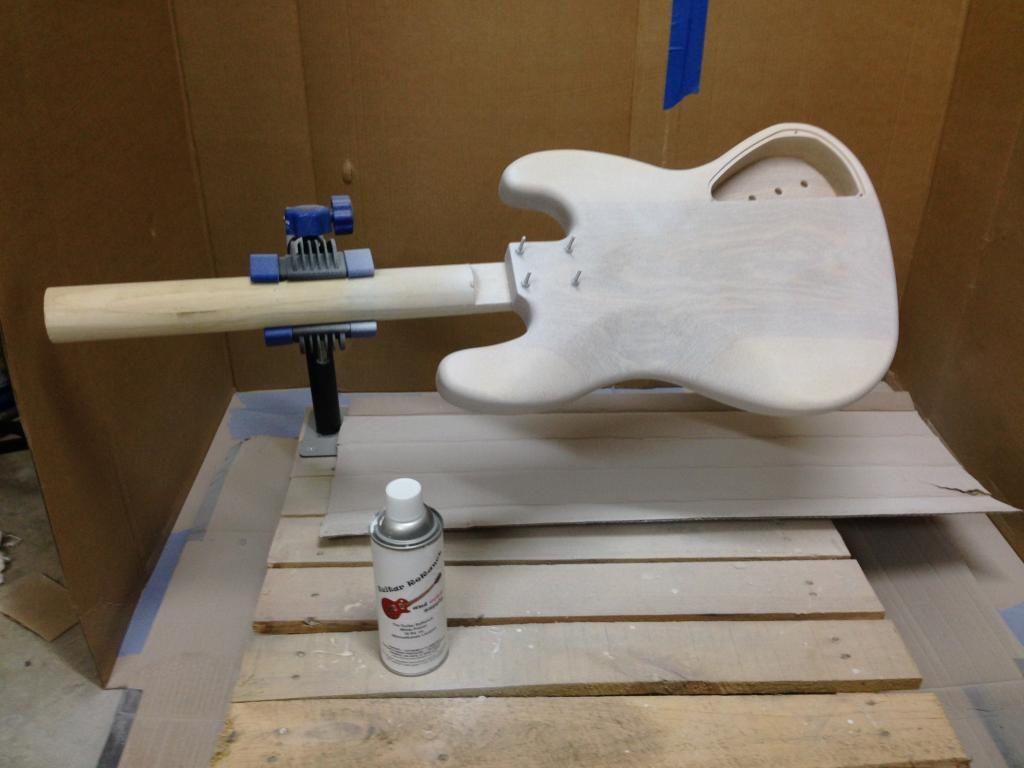
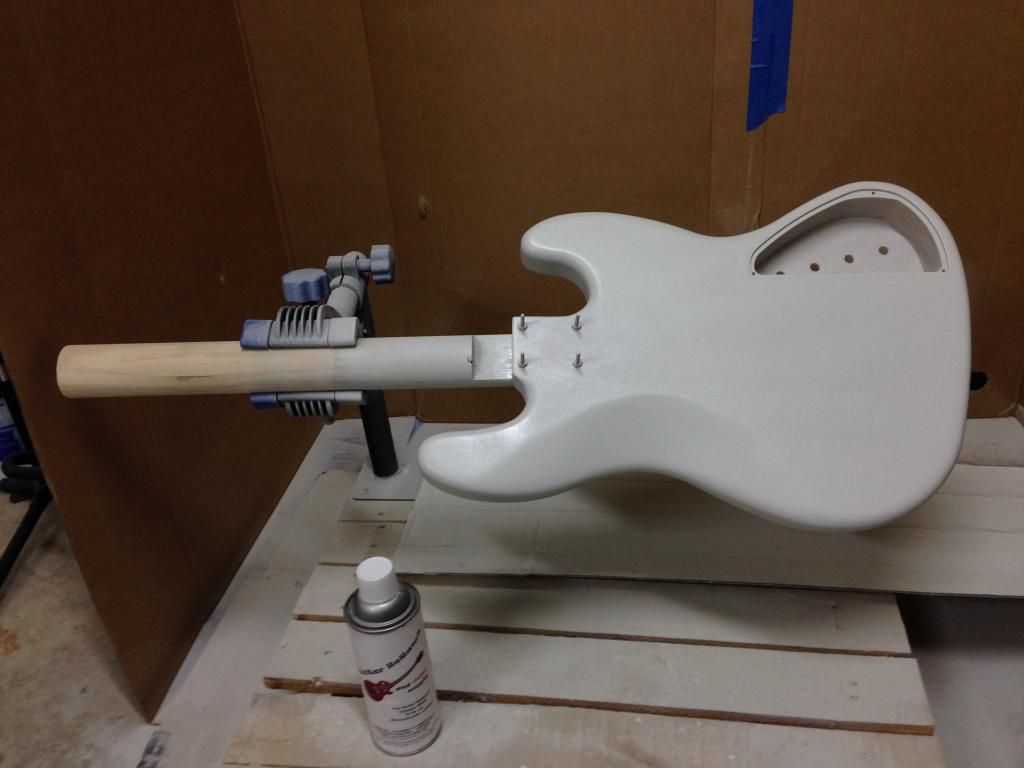
Painting, fourth coat (much of the third coat removed, FYI):
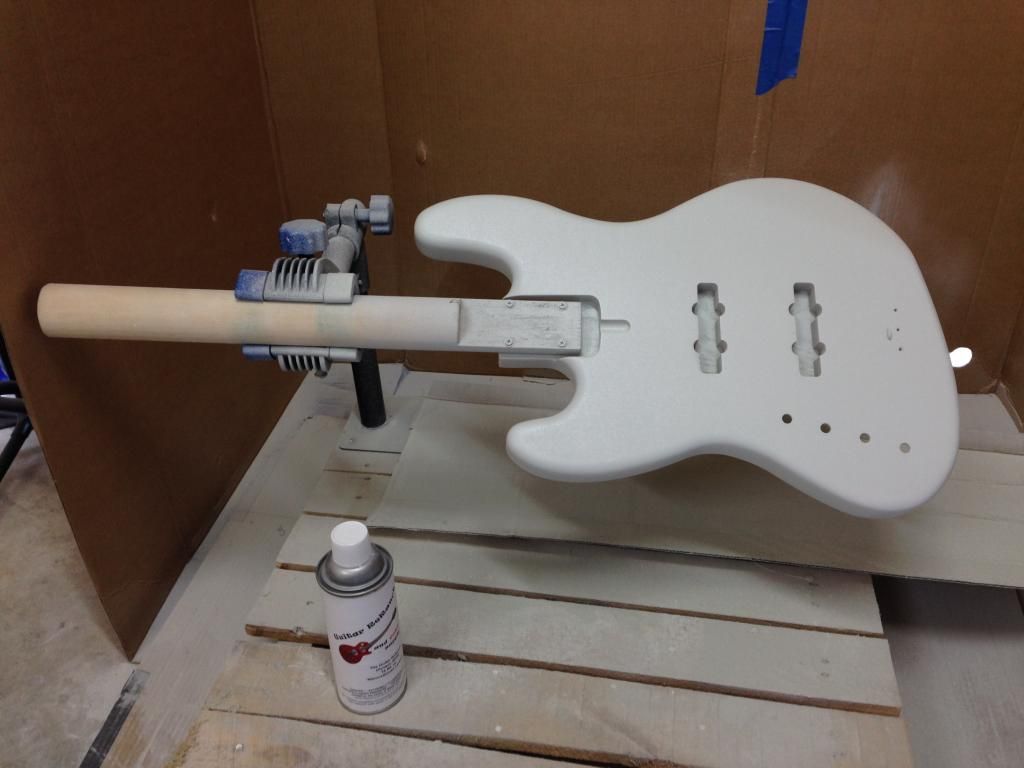
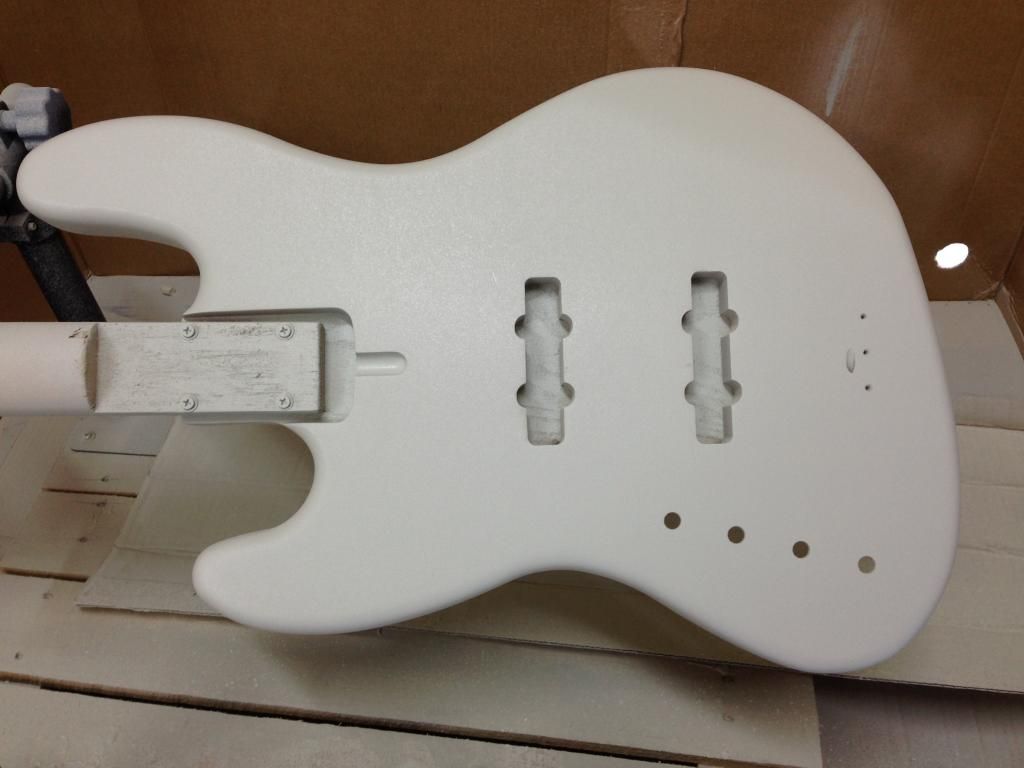
Painting, fifth coat (much of the fourth coat removed because there was a bit of orange peel on that coat). This is where I start figuring it out even more, though. Check out all these pics because the magic really starts here:
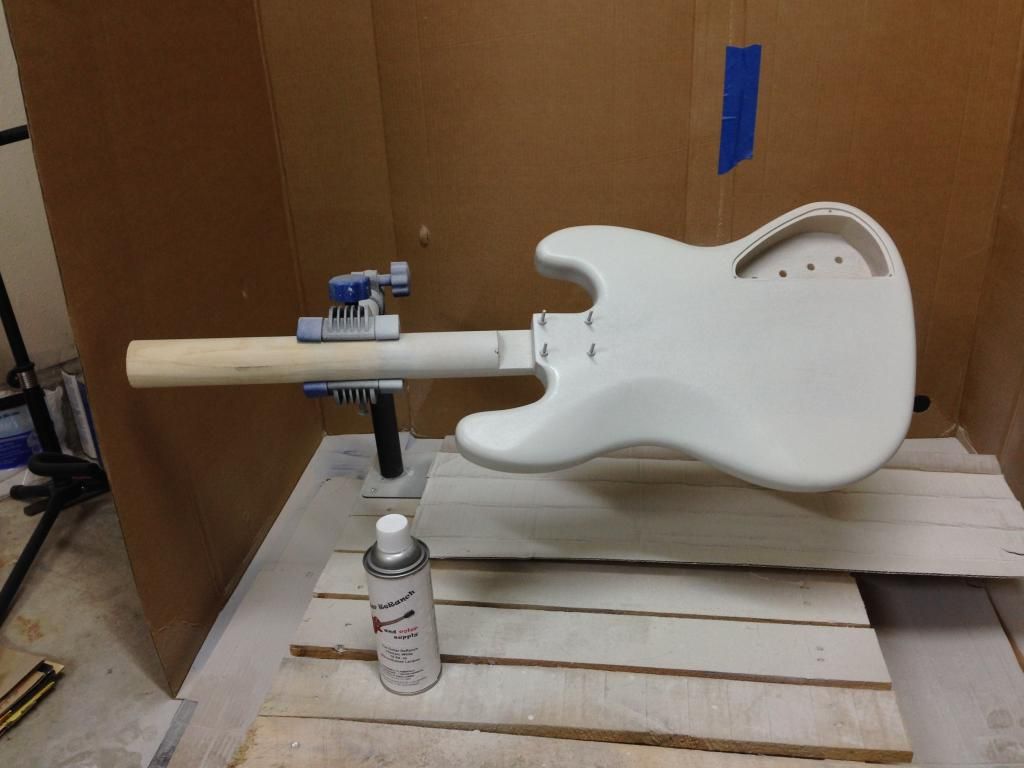
Painting, fifth coat (last night; July 23rd):
I am moving on to clear-coating tonight, so with any luck this thing will actually be finished relatively soon. I still need to finish the neck, but it's completely primed and ready for what I'm going to do to it, which is paint the headstock and satin clear-coat the back.
I must also add that the folks at talkbass.com have been very helpful. I've heard a lot of negativity about the site, but in the Luthier's Corner everything seems pretty chill. It's just a bunch of builders (and prospective builders) sharing ideas and stuff, which is really cool.
Grain-filling:


Fine-touch grain-filling:


Homemade paint booth setup:


Custom pseudo-neck:


Homemade paint booth and pseudo-neck — ready for painting (well, further prepping anyway):


Priming:


Painting, first coat:


Painting, second coat:


Painting, third coat:


Note: at about this time, I was really questioning whether I was applying the paint correctly. It turns out I was really just too far away from the surface of the body. After this point is when I really started "figuring it out" although of course I am still very much just a beginner...
Painting, fourth coat (much of the third coat removed, FYI):


Painting, fifth coat (much of the fourth coat removed because there was a bit of orange peel on that coat). This is where I start figuring it out even more, though. Check out all these pics because the magic really starts here:


Painting, fifth coat (last night; July 23rd):


I am moving on to clear-coating tonight, so with any luck this thing will actually be finished relatively soon. I still need to finish the neck, but it's completely primed and ready for what I'm going to do to it, which is paint the headstock and satin clear-coat the back.
I must also add that the folks at talkbass.com have been very helpful. I've heard a lot of negativity about the site, but in the Luthier's Corner everything seems pretty chill. It's just a bunch of builders (and prospective builders) sharing ideas and stuff, which is really cool.
Re: New DIY Custom Jazz
Looking good Brett, I had been wondering about the progress on this project for a while now.
Luthier's cornner is my favorite forum on TB these days and there a many good guys and gals building beautiful basses over there to be sure.
I also notice you're using ReRanch products so I assume that you are plugged into the forum over there. It is one of the best guitar refinishing resources on the net, with some very skilled and helpful guys there.
"Nothing is what is seems, but everything is exactly what it is." B. Banzai
-
Brett Zeppelin
- Posts: 99
- Joined: May 2nd, 2013, 1:26 pm
- Location: Santa Cruz, California
Re: New DIY Custom Jazz
Basshappi wrote:Looking good Brett, I had been wondering about the progress on this project for a while now.
Luthier's cornner is my favorite forum on TB these days and there a many good guys and gals building beautiful basses over there to be sure.
I also notice you're using ReRanch products so I assume that you are plugged into the forum over there. It is one of the best guitar refinishing resources on the net, with some very skilled and helpful guys there.
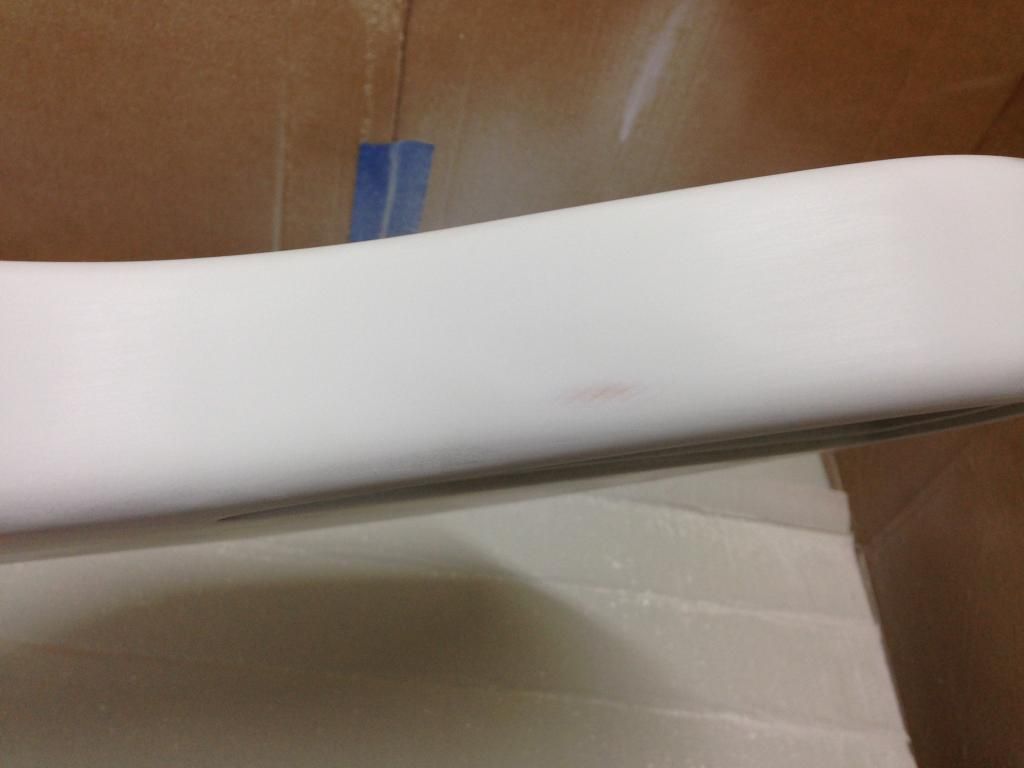
Thank you. This has been quite a project to say the least. I'm also very busy with "life" which I'm sure most of us are, so adding this into the equation has certainly delayed me in completing it. Add to all that the fact that it's my first build, and you've got a recipe for a very slow build. It's coming along well now, though, and the finish line is almost in sight. I've got to clear coat the body, and then work on the neck a little bit: satin clear for the back, painted headstock. Then after that it's on to buffing/polishing, and final setup. There's definitely a ways to go.
I haven't been involved in the ReRanch forum at all. I have pilfered a substantial amount of information from there, though. It has certainly been a good resource. I probably should be asking questions over there to find the answers I'm seeking, but there have been several TB members who have been helping me with direct answers. It's been a super-cool experience!
-
Brett Zeppelin
- Posts: 99
- Joined: May 2nd, 2013, 1:26 pm
- Location: Santa Cruz, California
Re: New DIY Custom Jazz
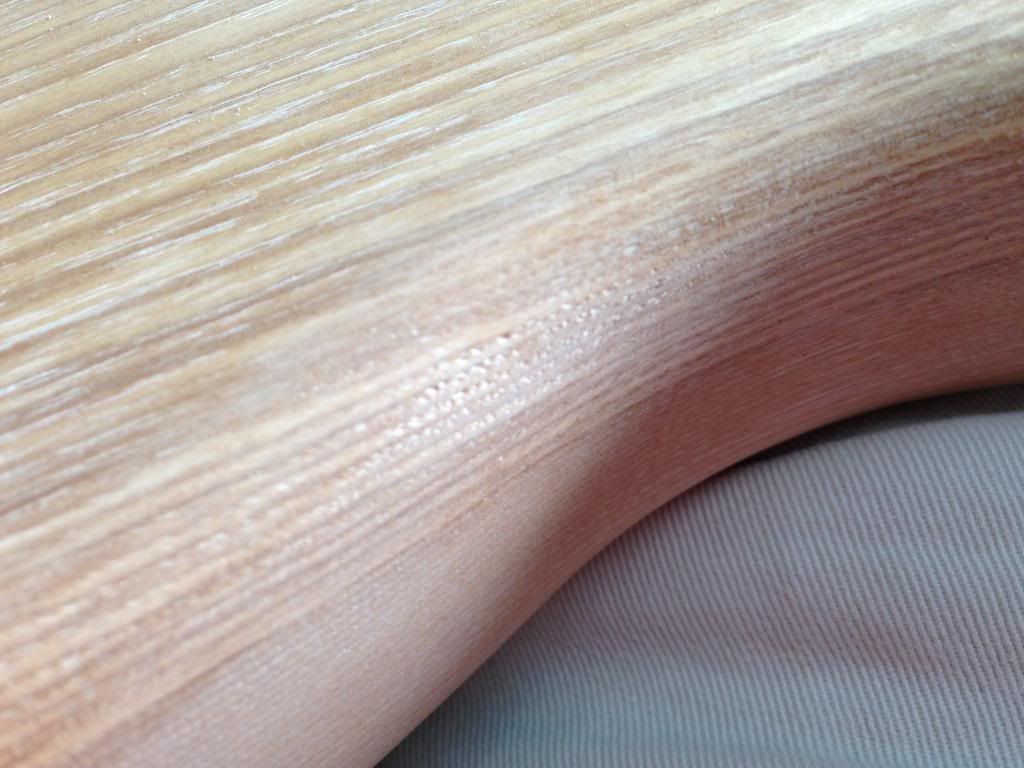
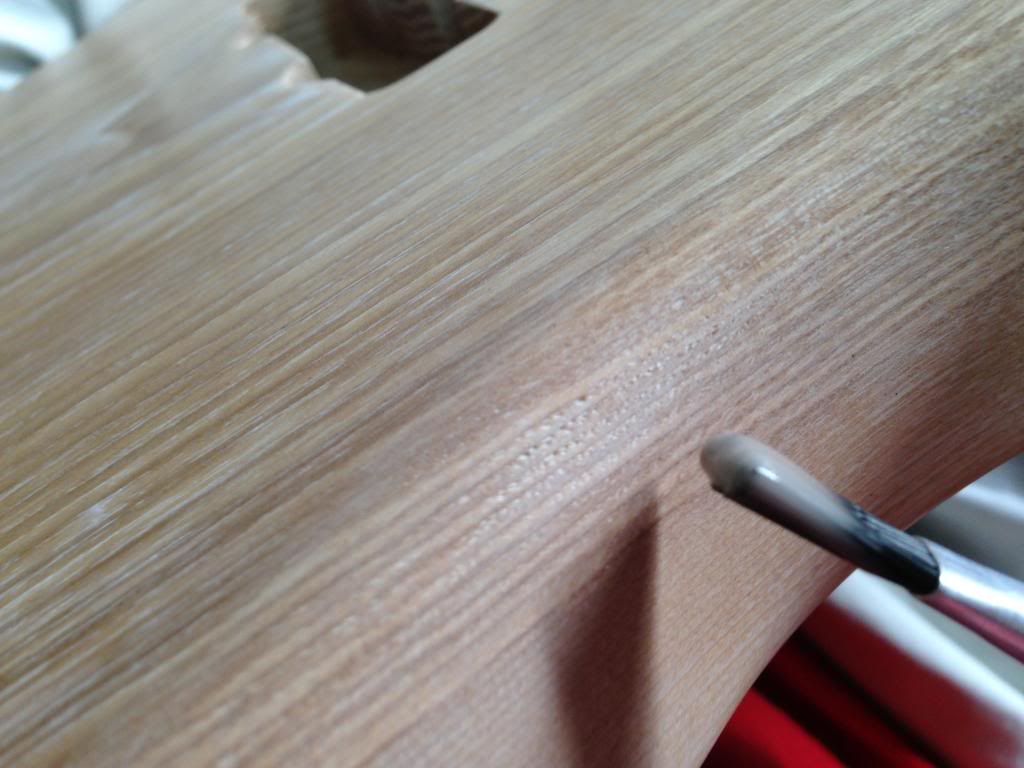
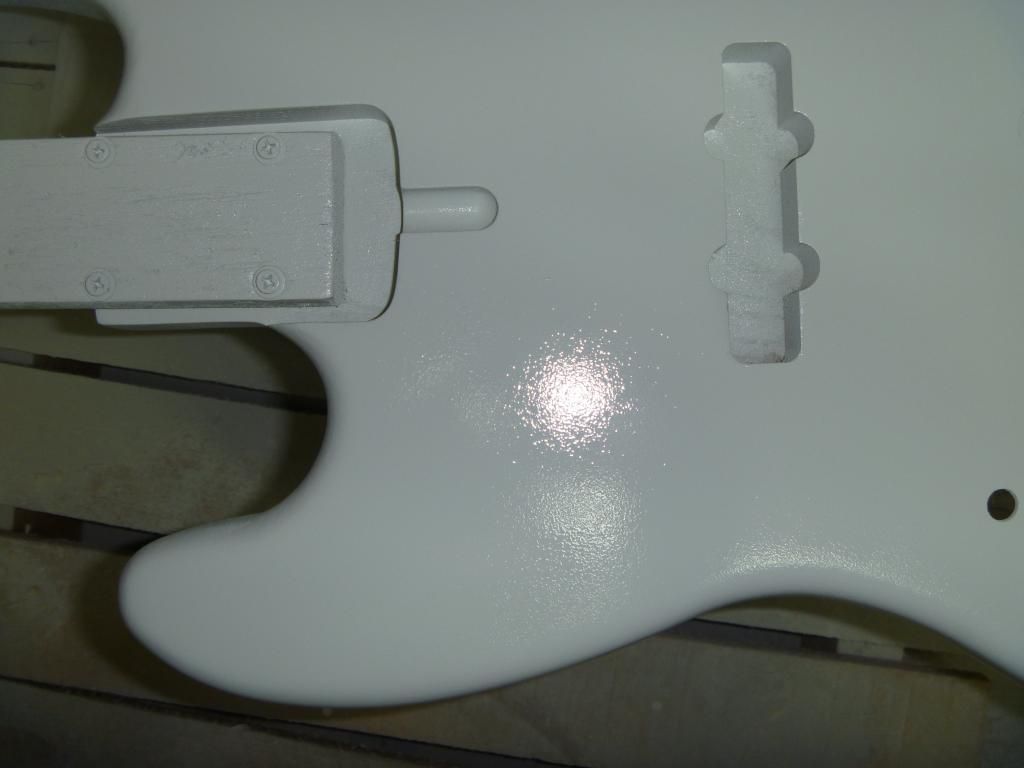
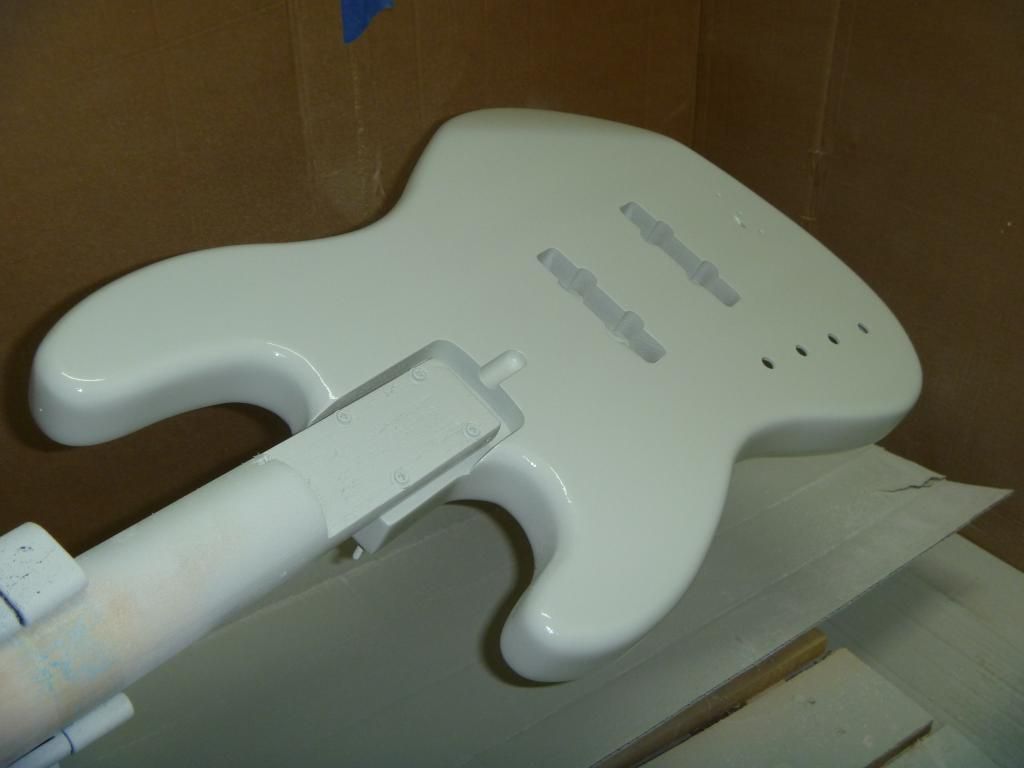
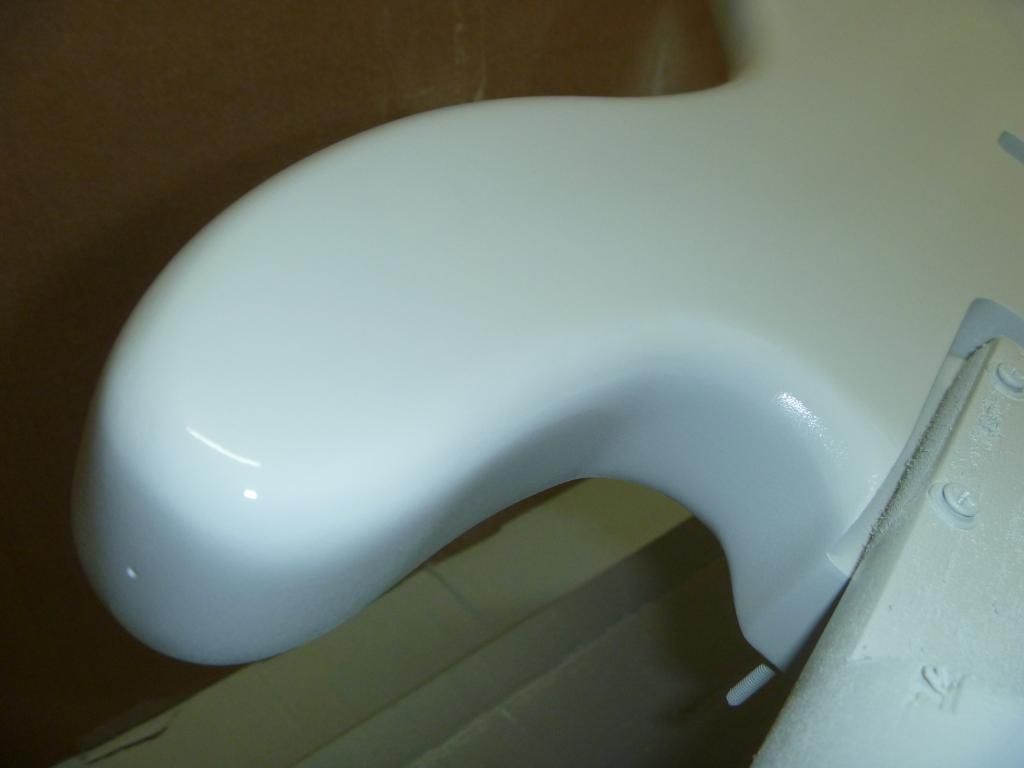
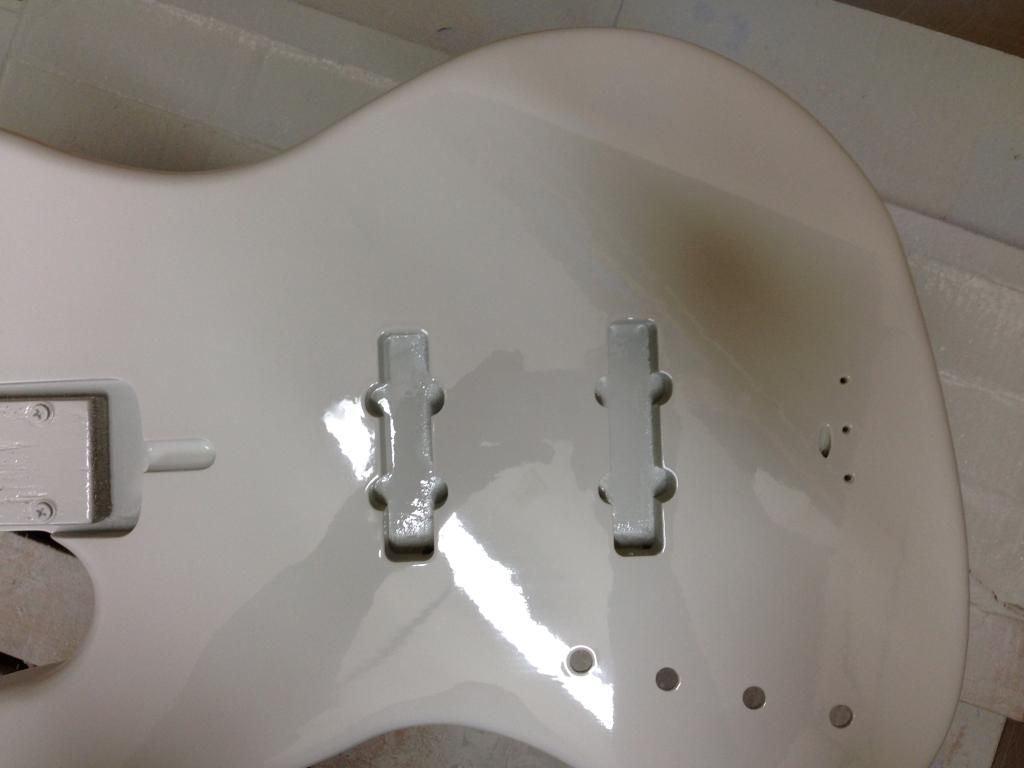
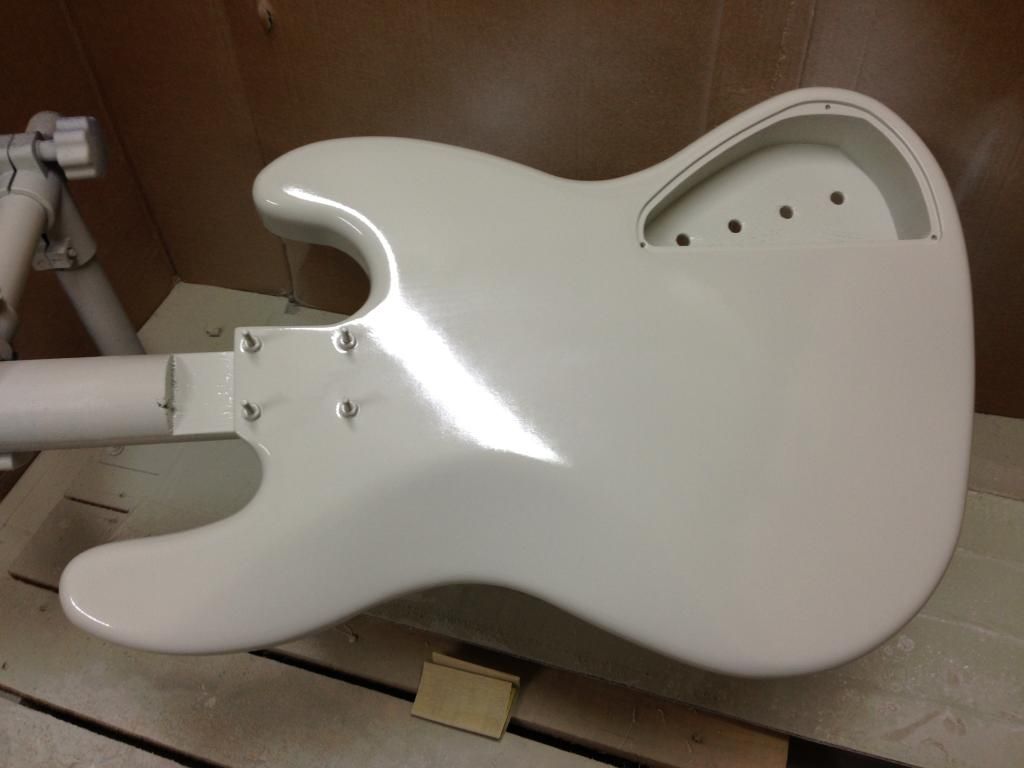
Here she is after a significant sanding last night, in preparation for the clear coats. There are a couple spots that I need to touch-up before I can start with the clear.
Sand-through. Needs repair:
Sand-through. Needs repair:
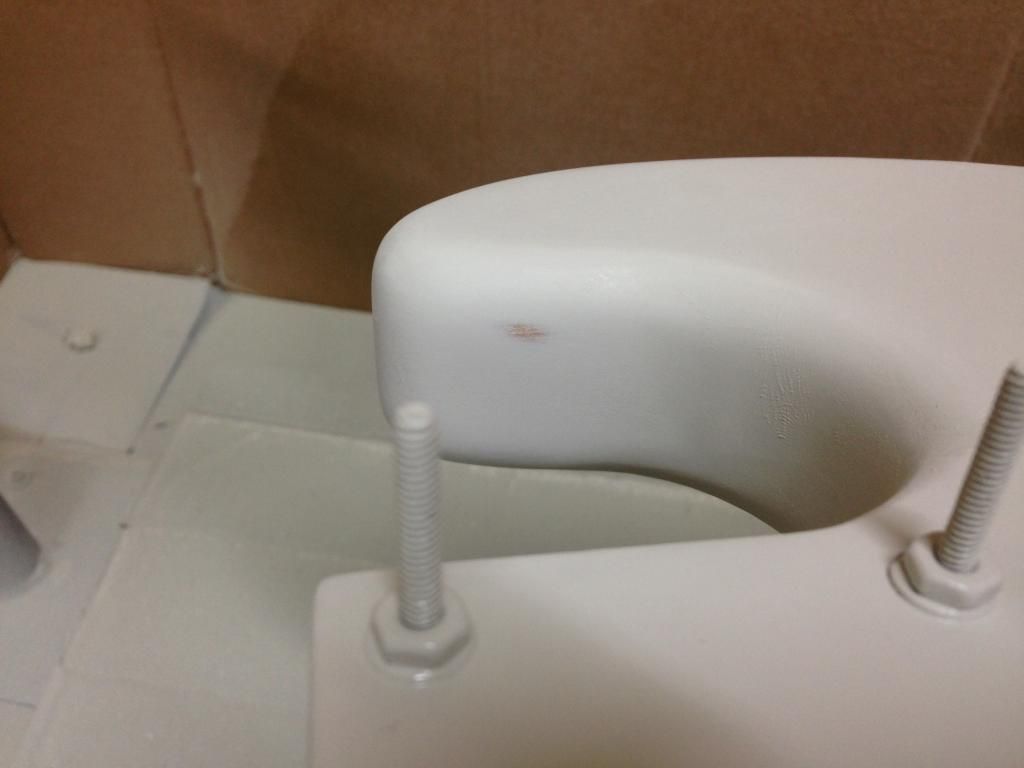

Sand-through. Needs repair:

Sand-through. Needs repair:

-
Brett Zeppelin
- Posts: 99
- Joined: May 2nd, 2013, 1:26 pm
- Location: Santa Cruz, California
Re: New DIY Custom Jazz
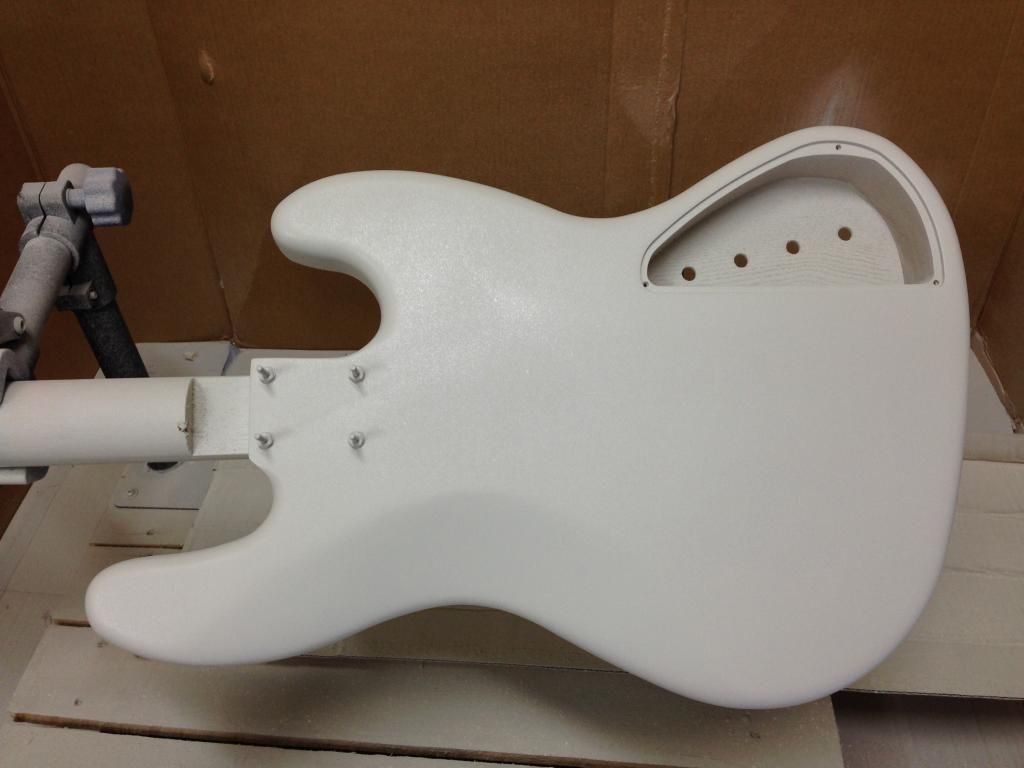
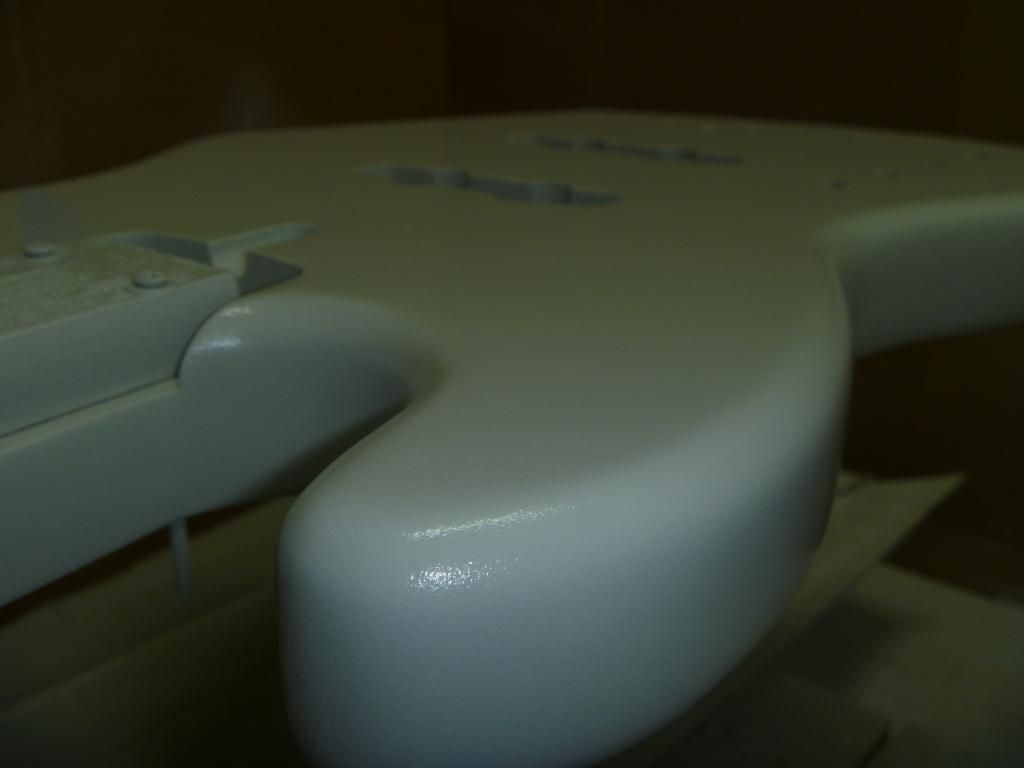
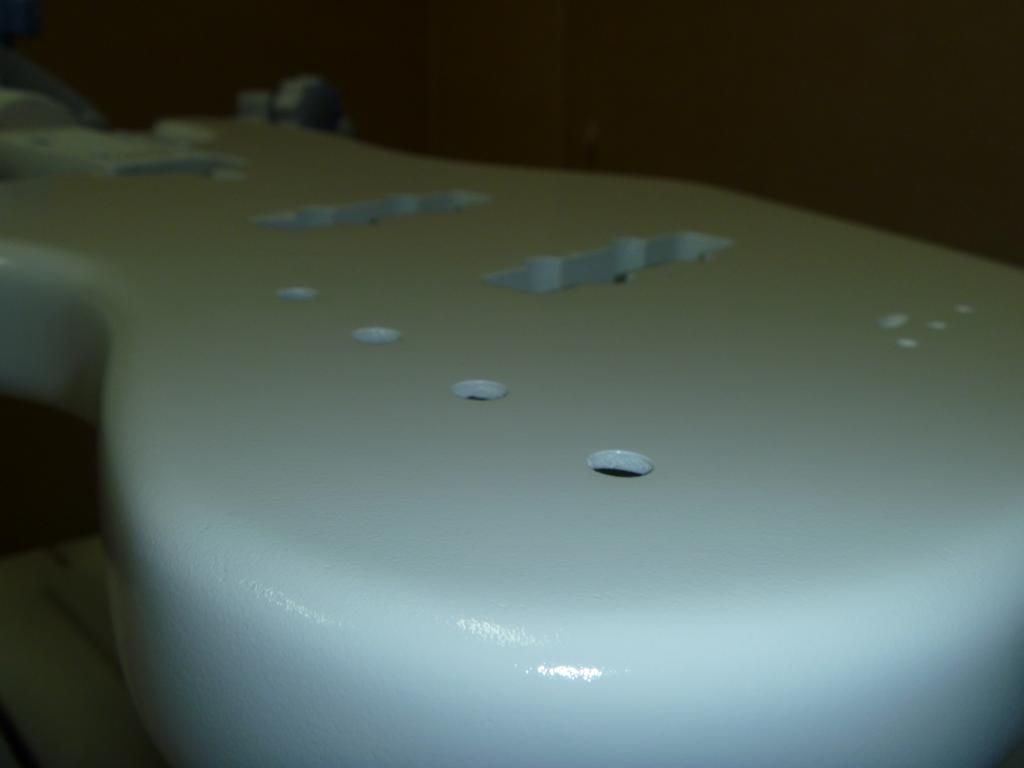
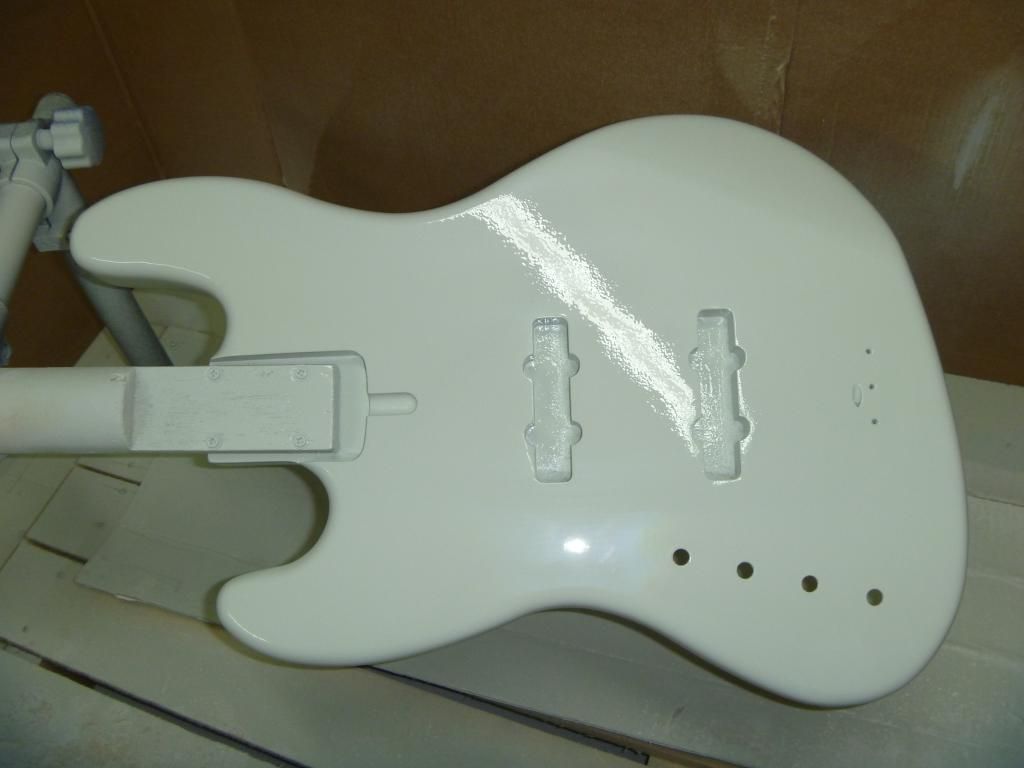
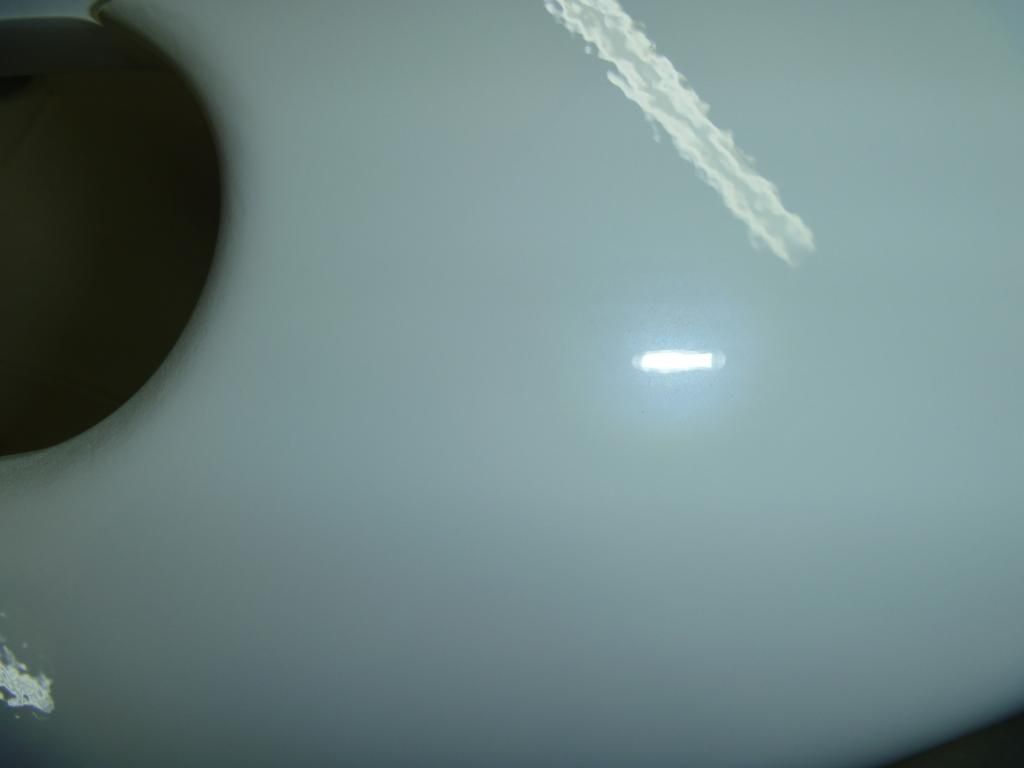
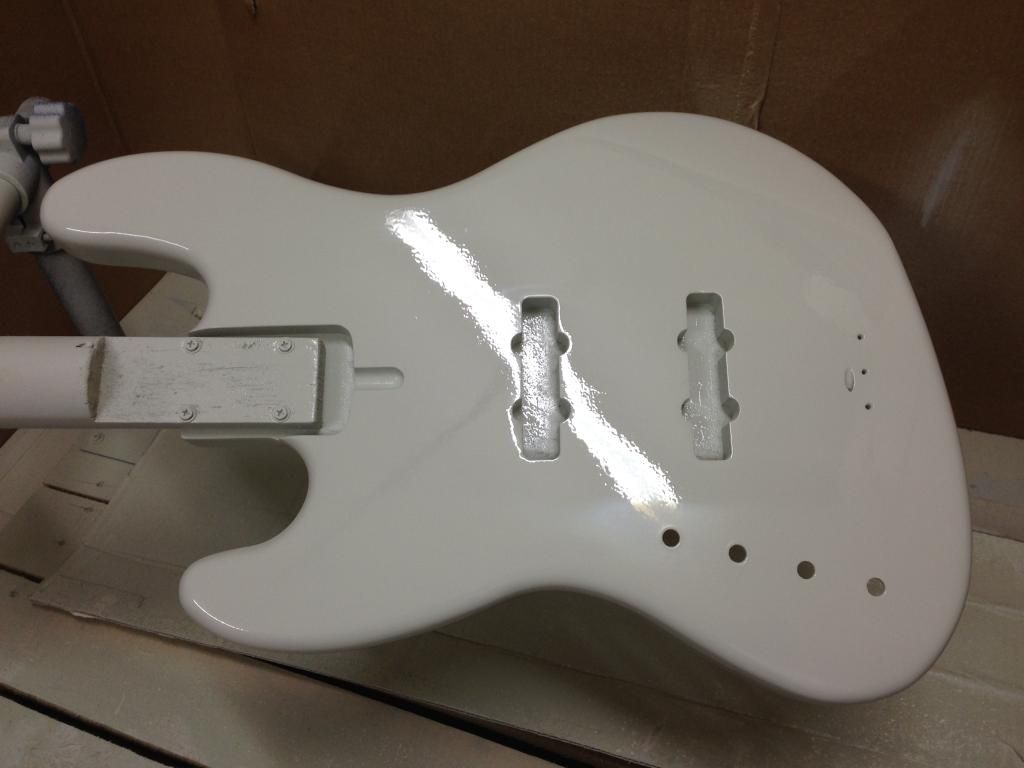
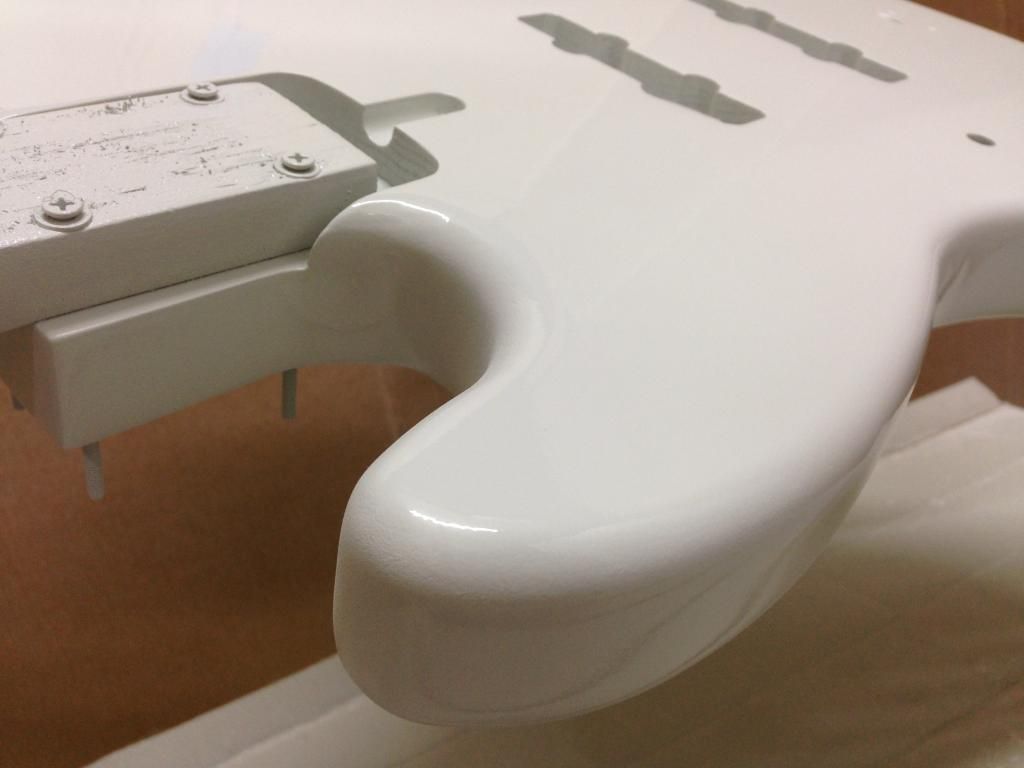
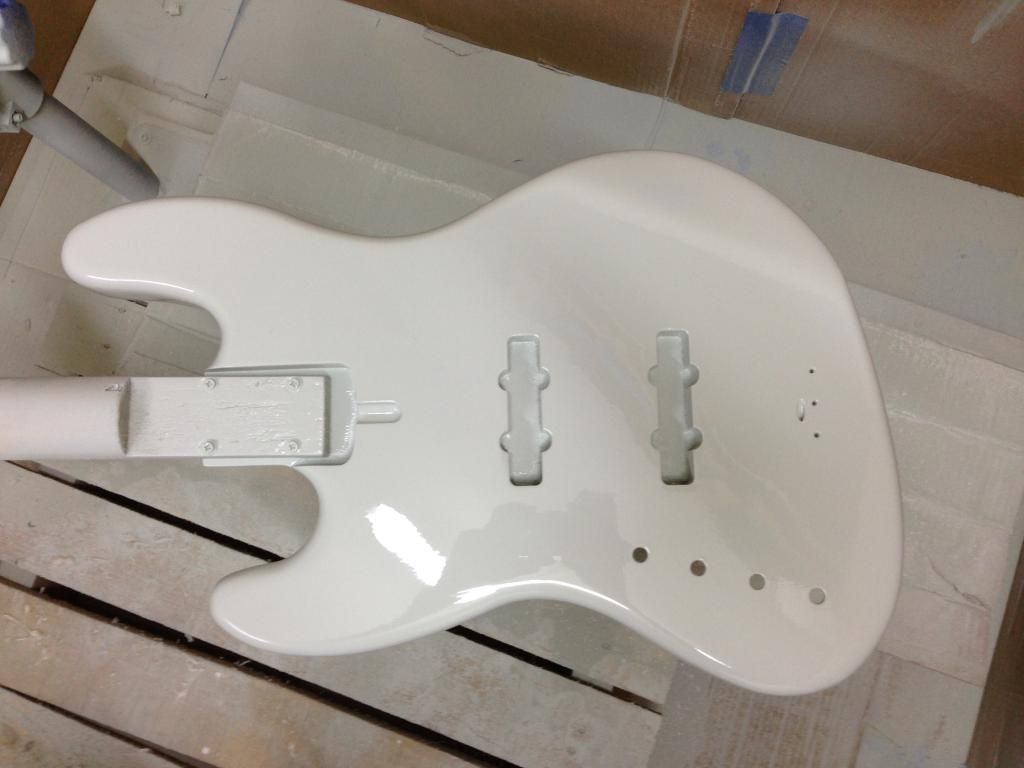
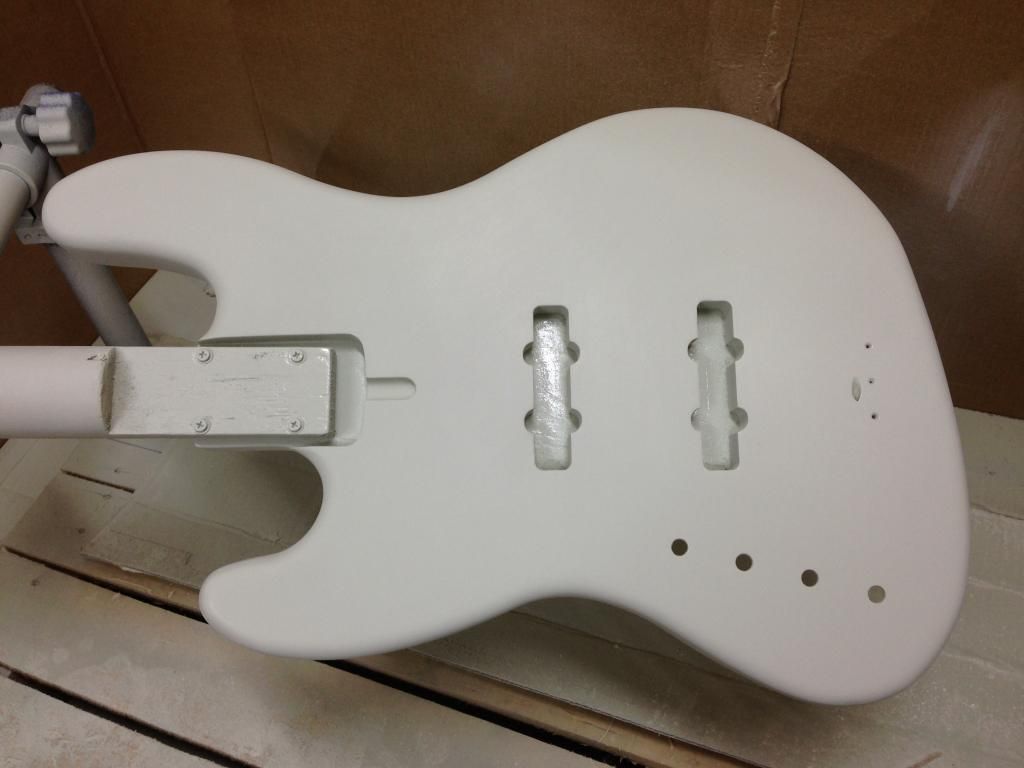
I've got some progress pics today, after some clear-coating last night and tonight. These are essentially just duplicate photos, but presented without flash, and then with flash:
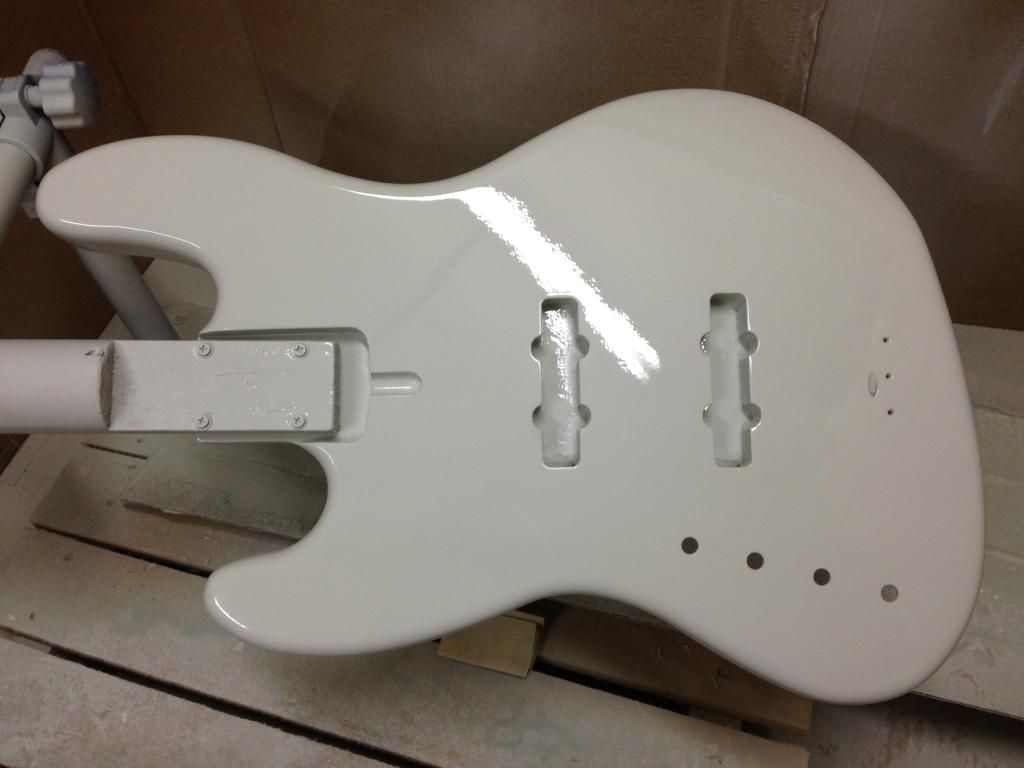
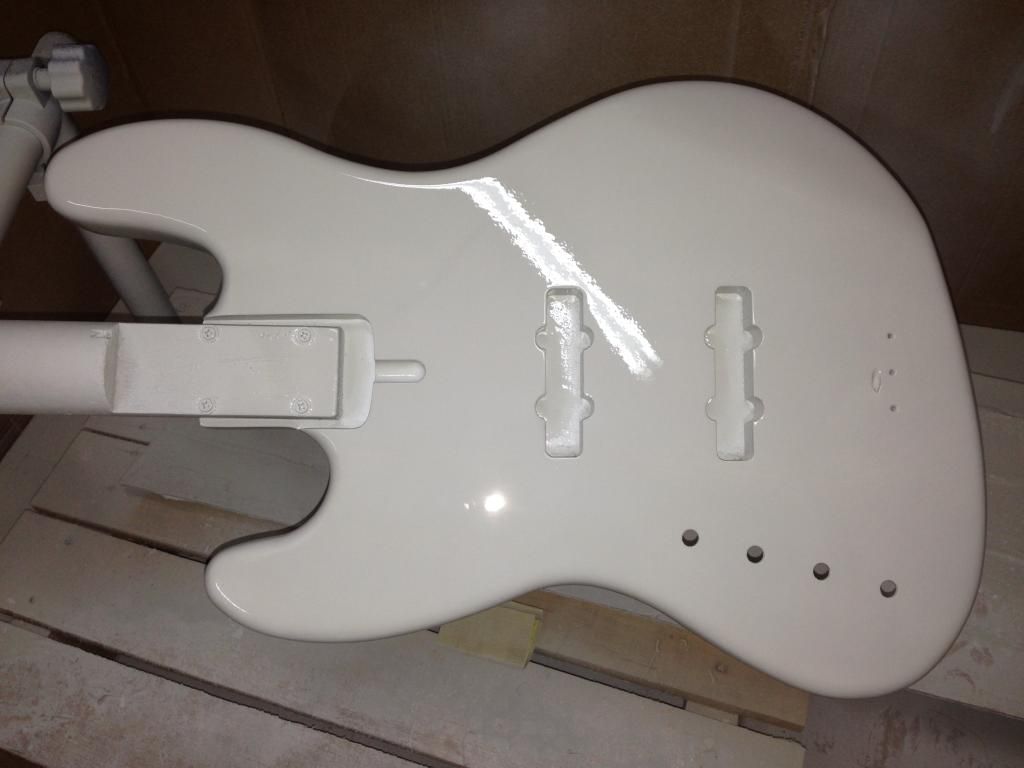
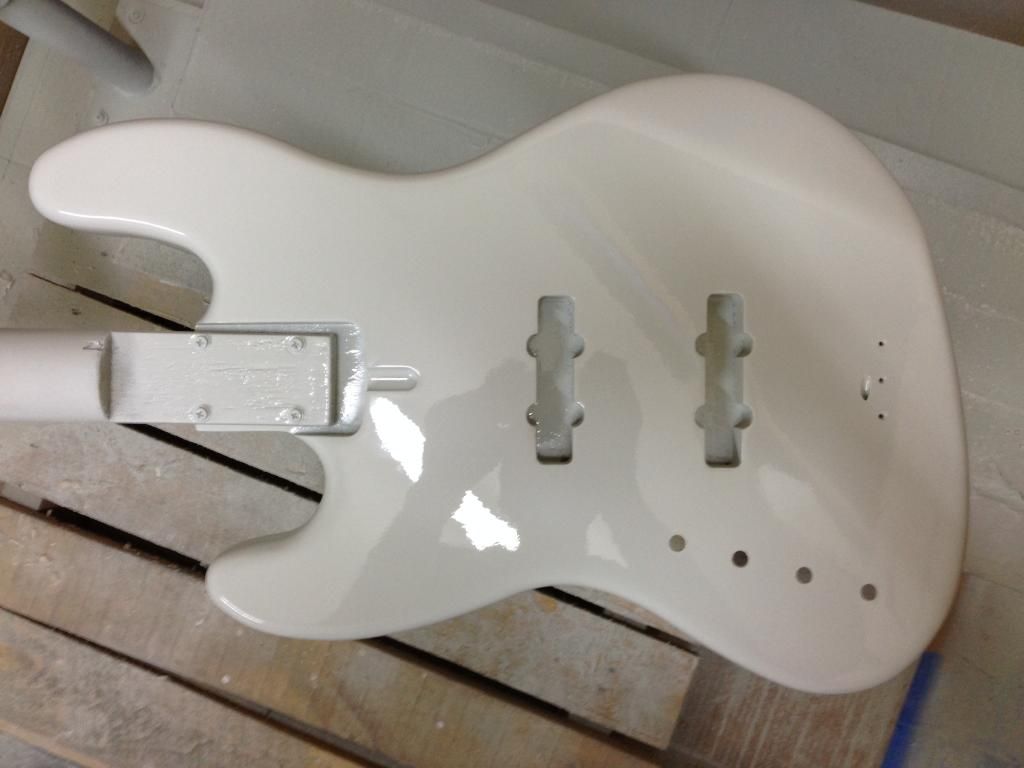
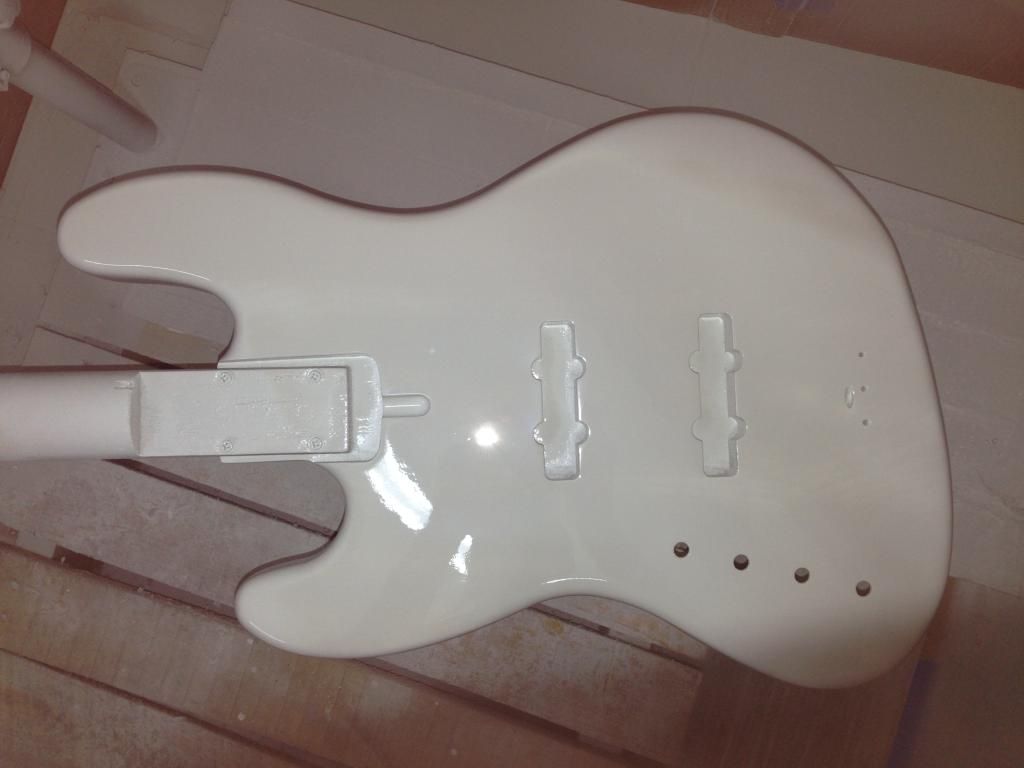
It's coming along quite nicely. For being my first paint job, and for using rattle cans, I think I am doing well. I can't wait to start playing this thing.


It's coming along quite nicely. For being my first paint job, and for using rattle cans, I think I am doing well. I can't wait to start playing this thing.