So, You Say That Bass Is Effed?
Posted: April 16th, 2014, 3:48 pm
Any of you who are friends with me on FB may have already seen this but I just had to share. Especially because I was so rudely dismissed by a local repair guy - with an ironic moustache and skinny jeans - saying that it wasn't repairable or "not worth" repairing. I'll be fair. I always knew what would have to be done to repair it. But I was going to have some other work done on the electronics as well so I thought I would get them to do it all. After he presented me with his attitude I decided I'd do it myself.
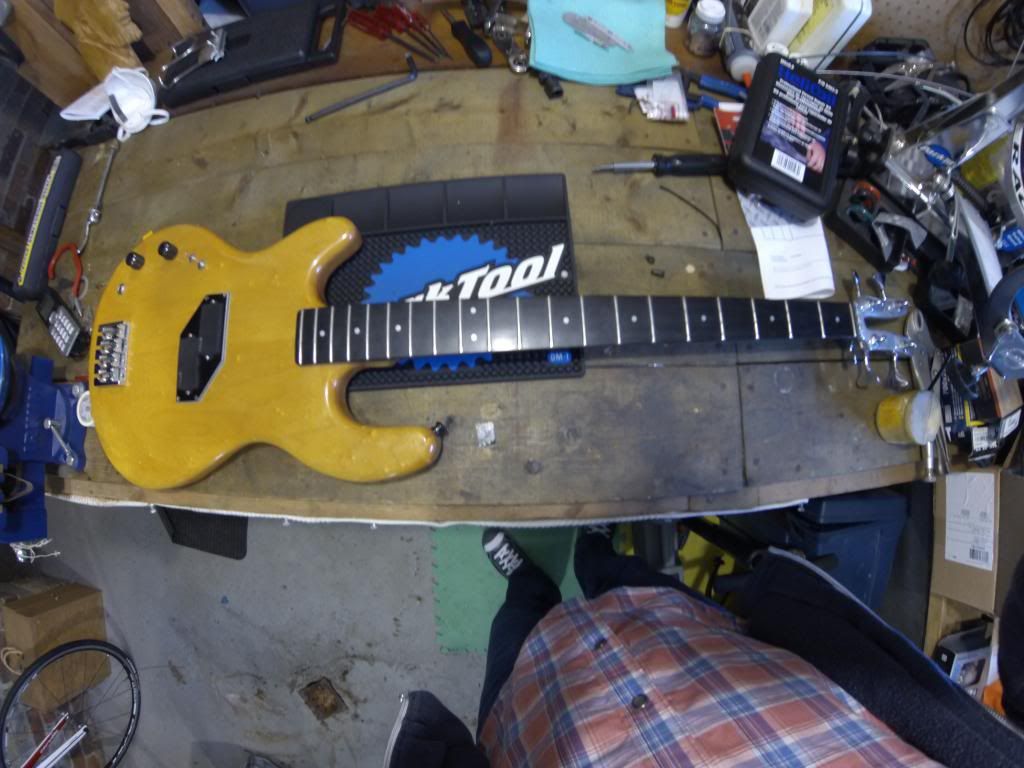
This is a little photo essay about my 1978 Kramer DMZ400 bass - with an aluminium neck - and the nail biting repair that I performed myself. I took these photos with a GoPro on maximum "fish eye" cuz that's all I had around. Sorry about the sometimes wacky perspective.
So... a bad thing happened. The threads that allow the bolts that secure the neck to this bass.... failed. This is a big problem because the neck is made of aluminium.....
I know the pic is slightly blurry but, where once there were pristine alloy threads, there are now just.... useless holes.
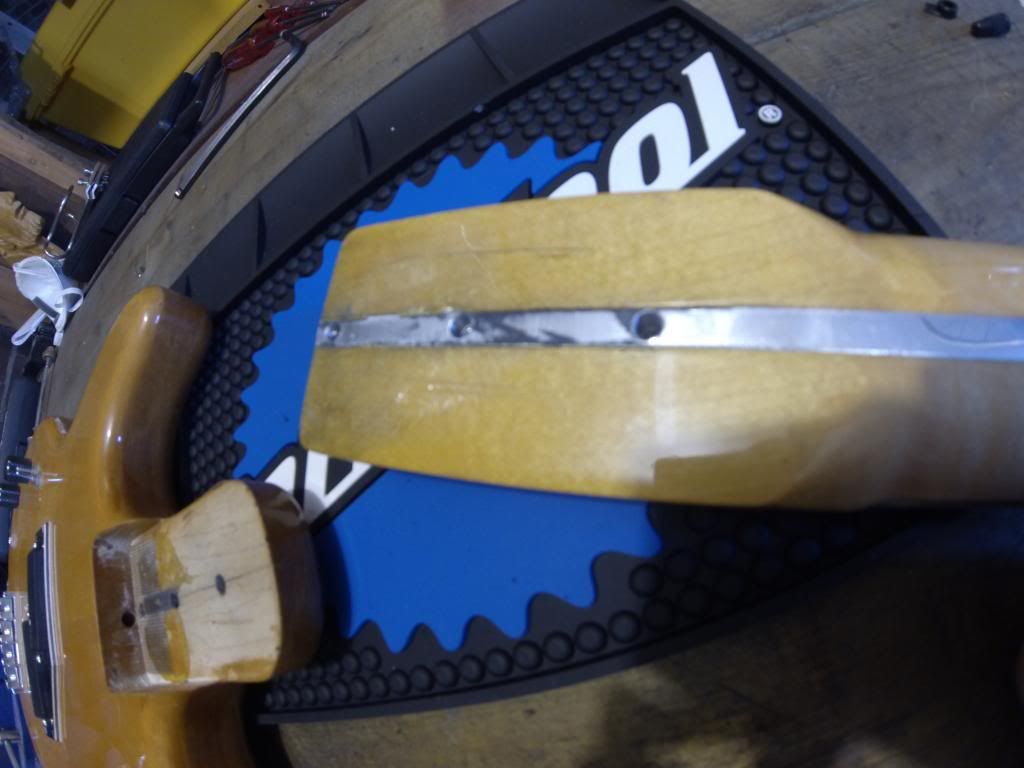
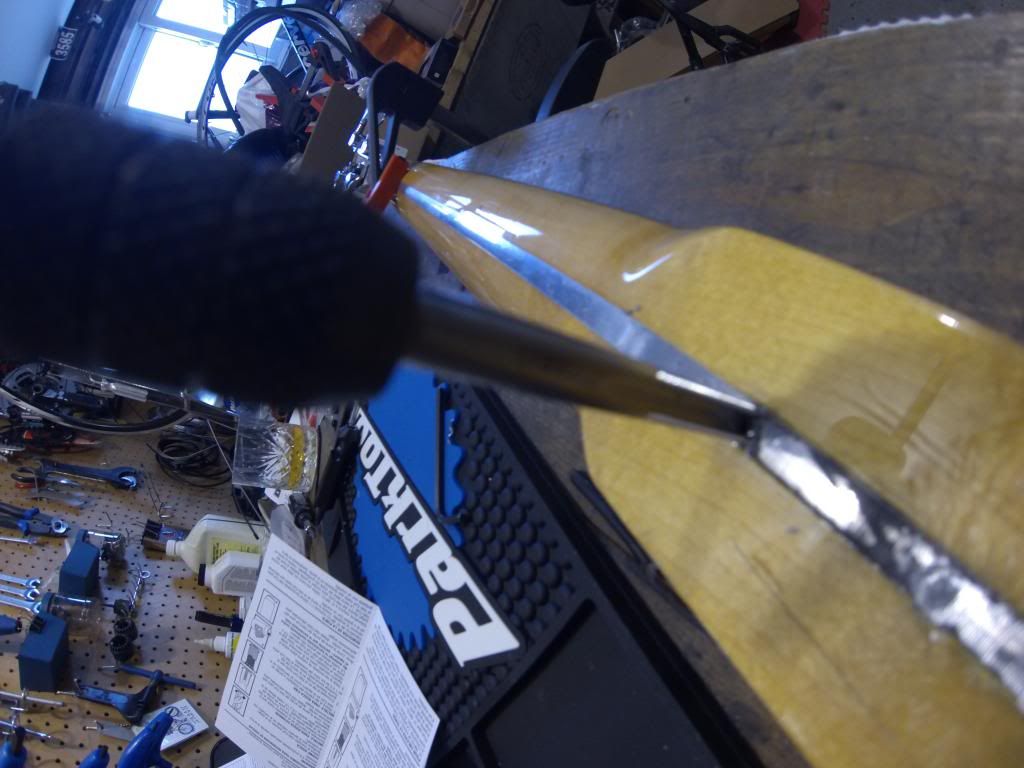
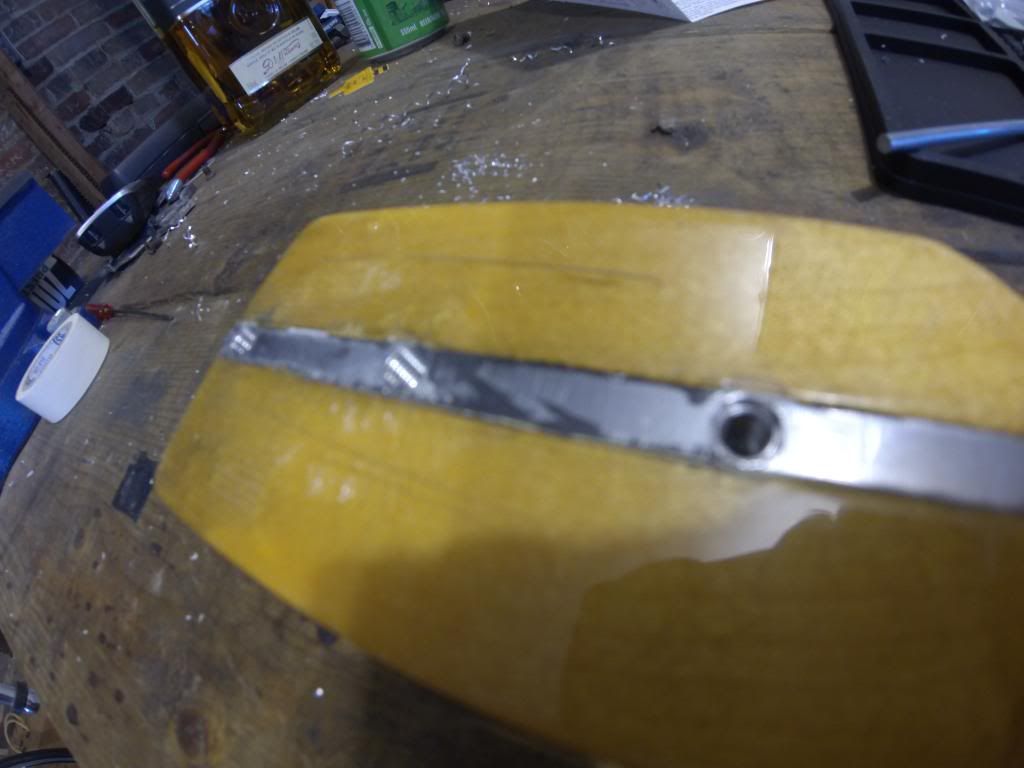
Here's a pic that shows the cross section of the aluminium neck at the heel. Sort of a "T" beam with wood inserts.
The repair I'm about to attempt will require some assistance in the form of good ol' "Irish Courage".

Gulp.......

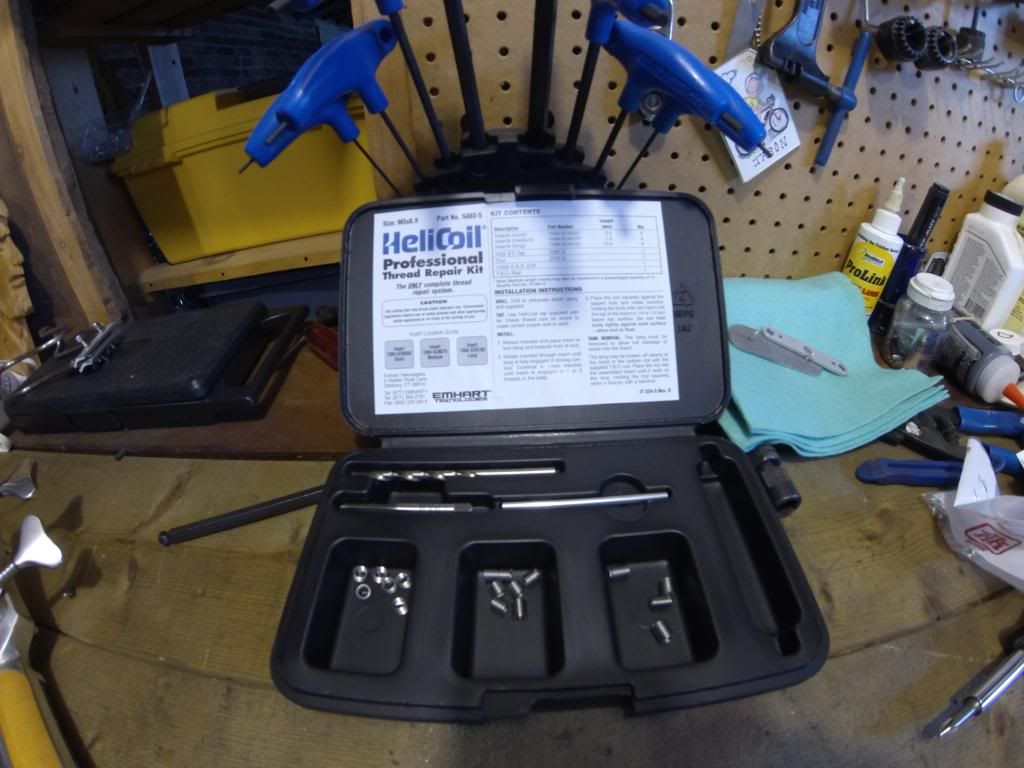
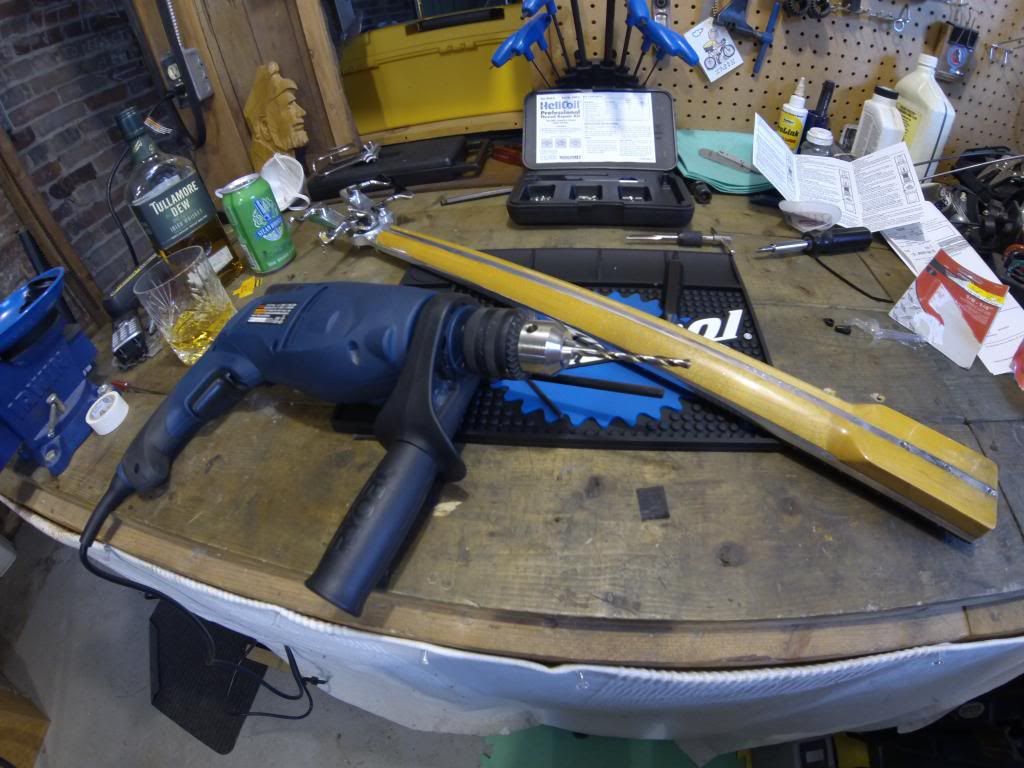
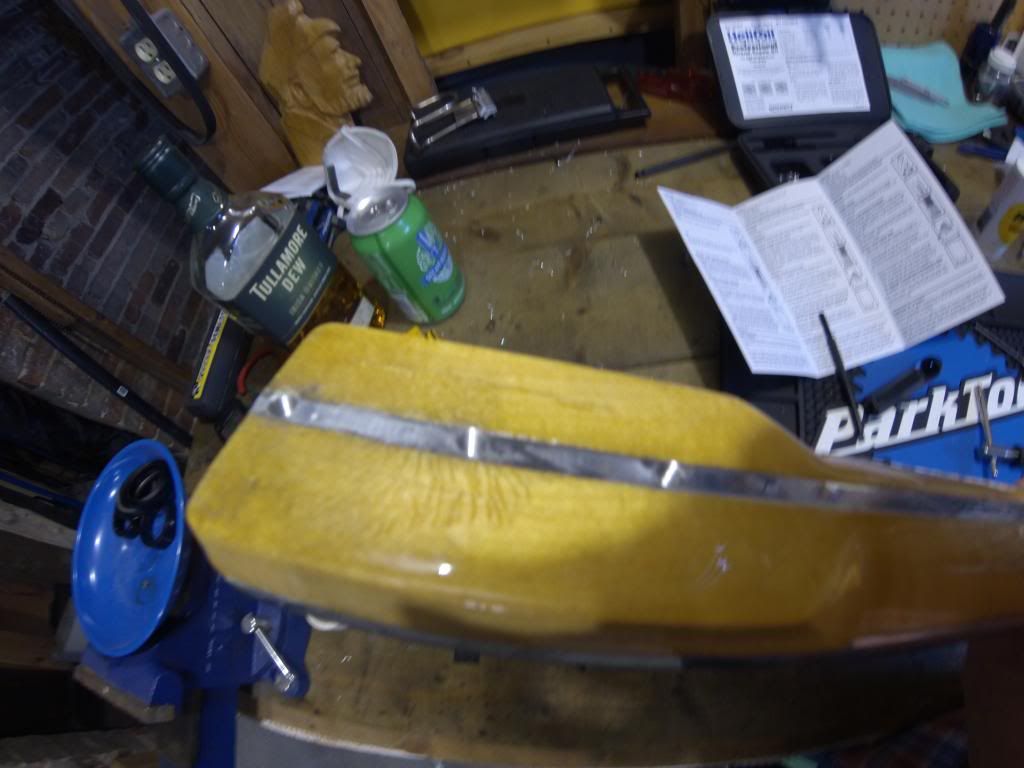
It's time to dispense with the guitar/luthier tools. What we need for this monster is a good ol' M5 HeliCoil thread repair kit. Seems I may have just learned a thing or two having spent all that time around bicycles for all those years....
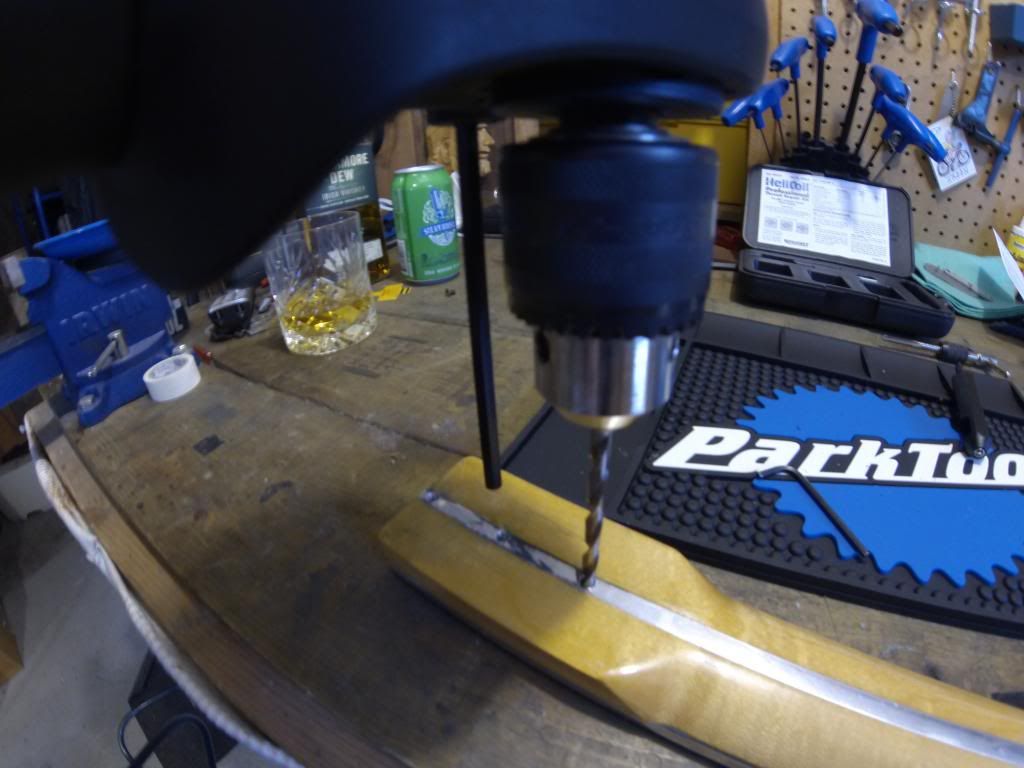
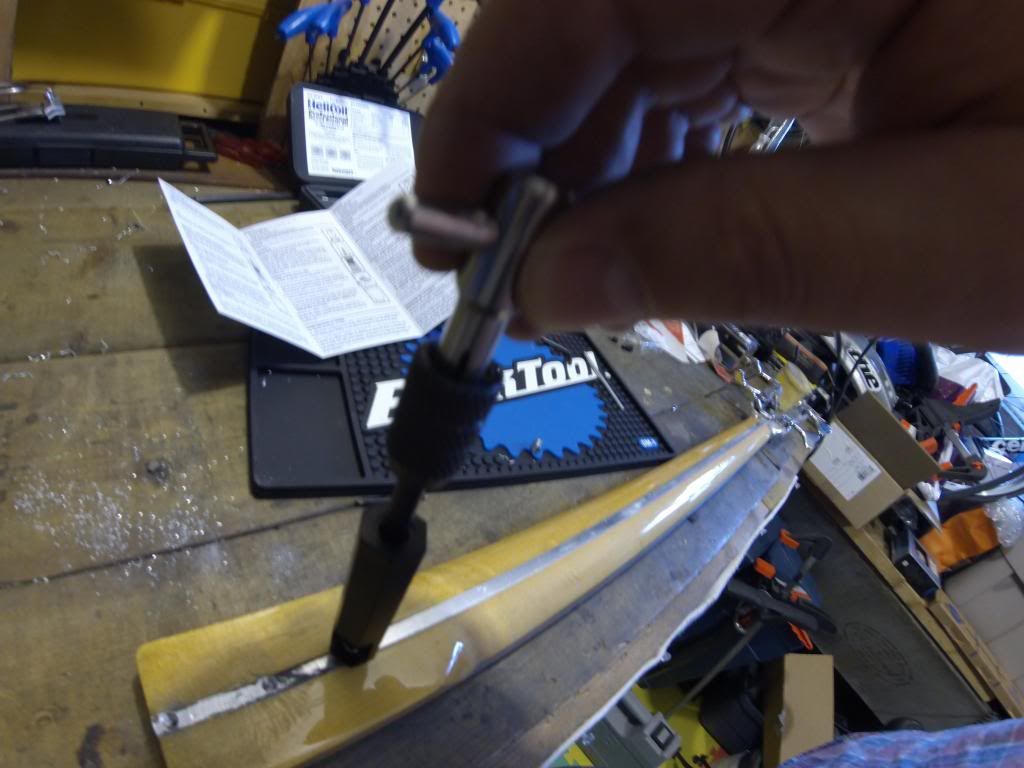
First thing I needed to do is drill out the holes in the neck. Completely removing the old damaged threads. (Most people would use a lightweight, battery operated drill for this. Not me. I use a big ass hammer drill.)
Reaching the point of no turning back....
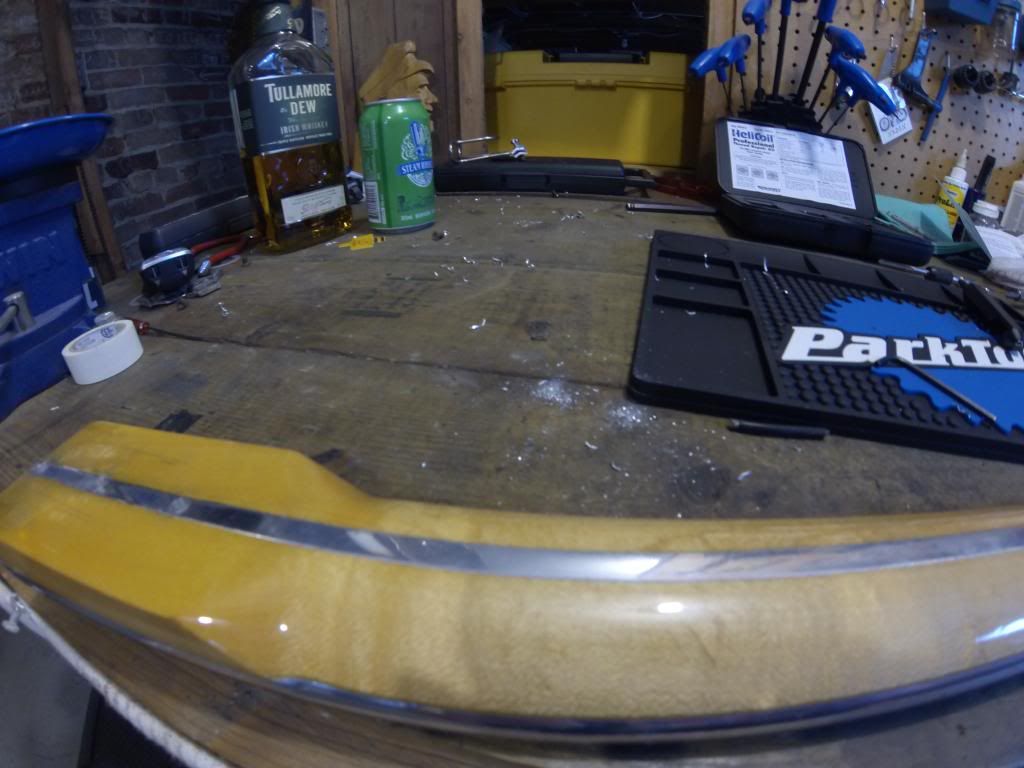
Hard to see in the photo but, there are now absolutely no threads and the holes have been enlarged. You can see evidence of the aluminium filings on the bench...
Placing the supplied tap into my trusty tap/die handle.....
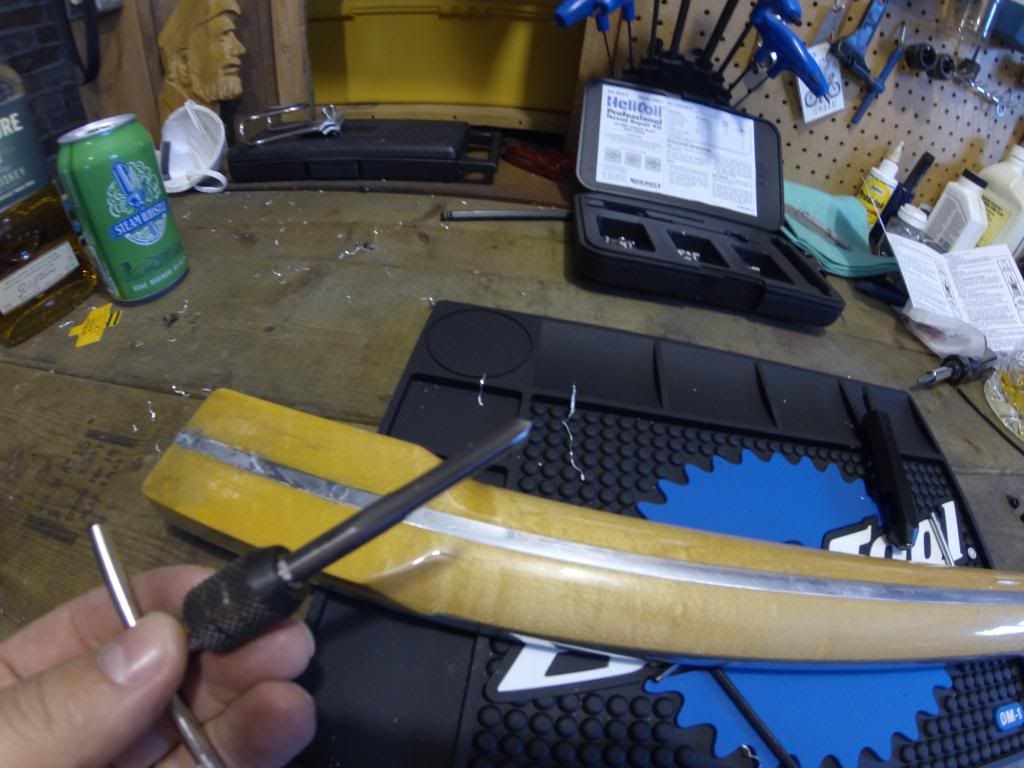
.... I begin to cut new threads in the larger diameter holes.
Time for more courage...

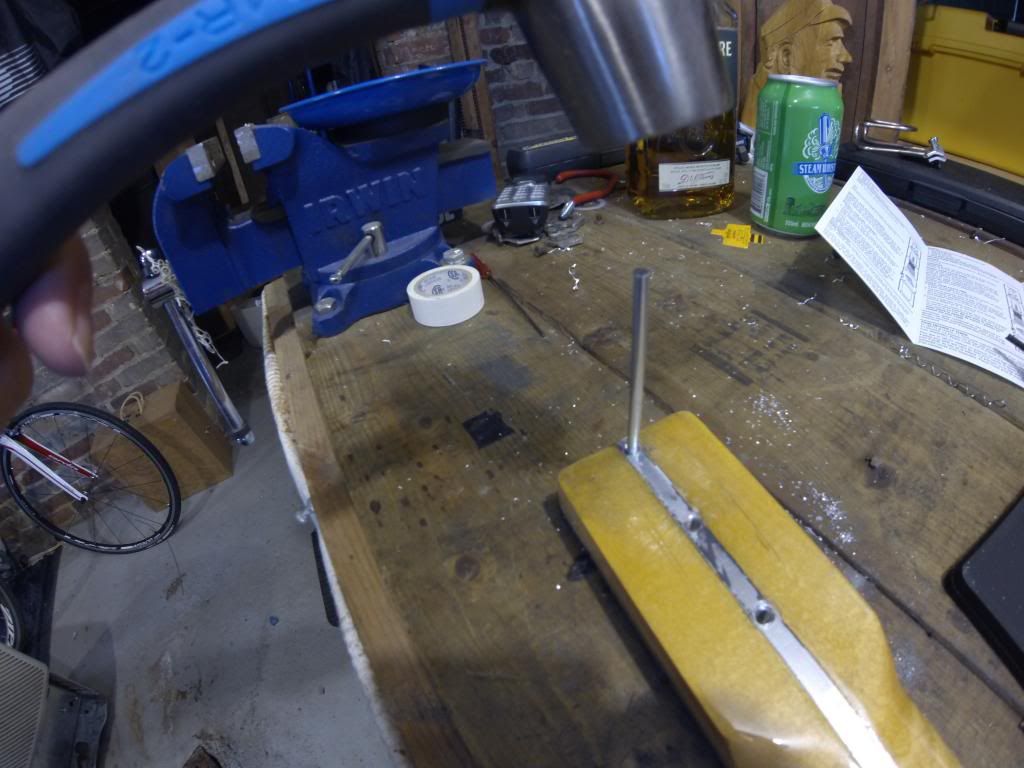
Now, you can see that all three holes have new threads in them. But wait, those holes are now too big for the M5 bolts you need to use?!?
No worries! This is where the HeliCoil insert - those little things that look like springs - comes into play.
Install the insert onto the HeliCoil installation tool to "wind up" the insert....
...and slowly thread the insert into the newly threaded hole.
LOOK AT THAT! A brand new set of M5 threads.
Remove the installation "tang" from the inside of the hole with hammer and punch.
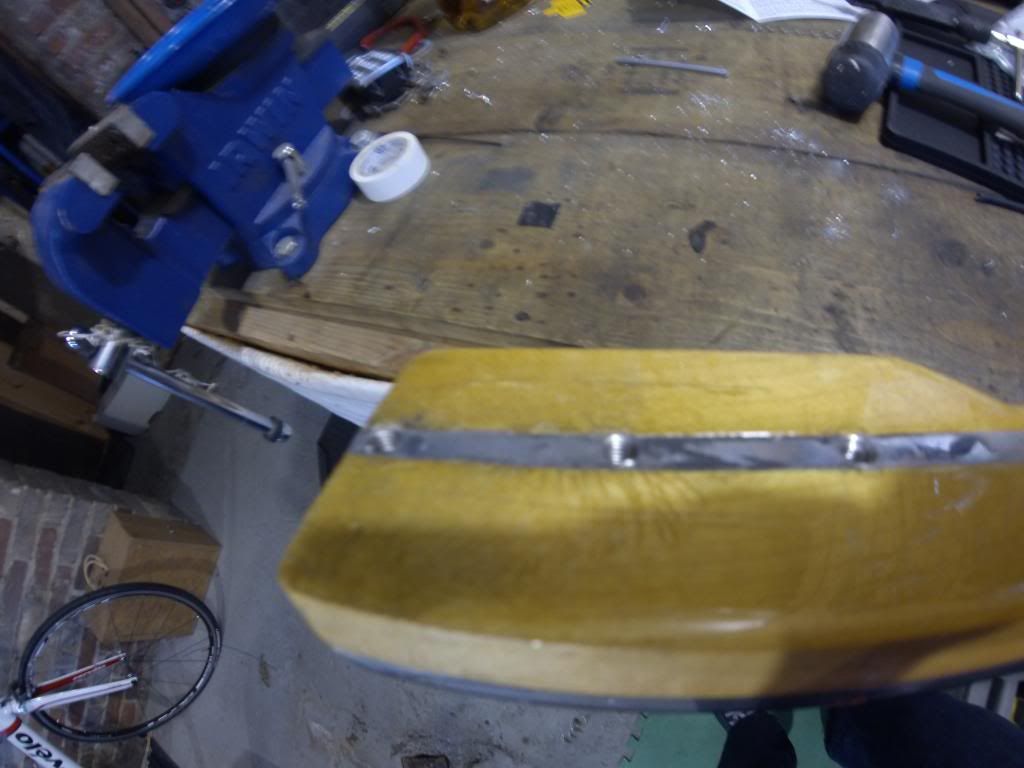
Three brand new M5 threaded holes. According to HeliCoil, a repair made to aluminium threads with their inserts is many times stronger than the original threads.
Using brand new machine screws and lock washers, I cross my fingers, say a Hail Mary and thread the first screw in....
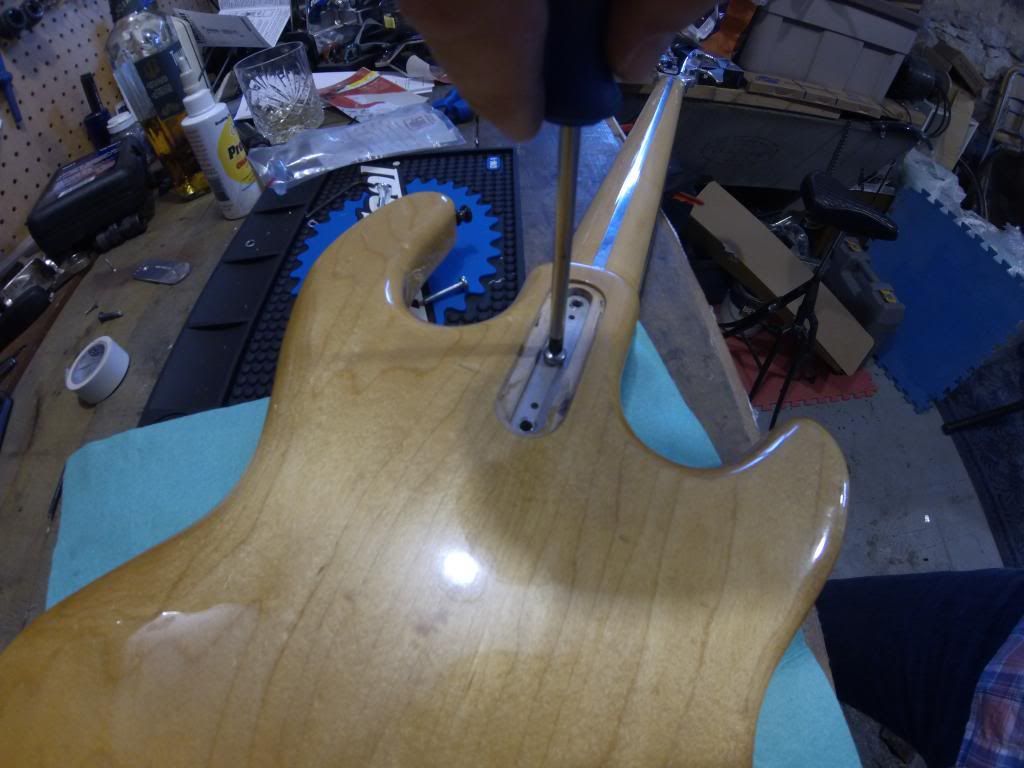
....It worked!! It's an Easter miracle! Neck back in placed and torqued to spec. (By spec I mean, "until it feels about right to me."
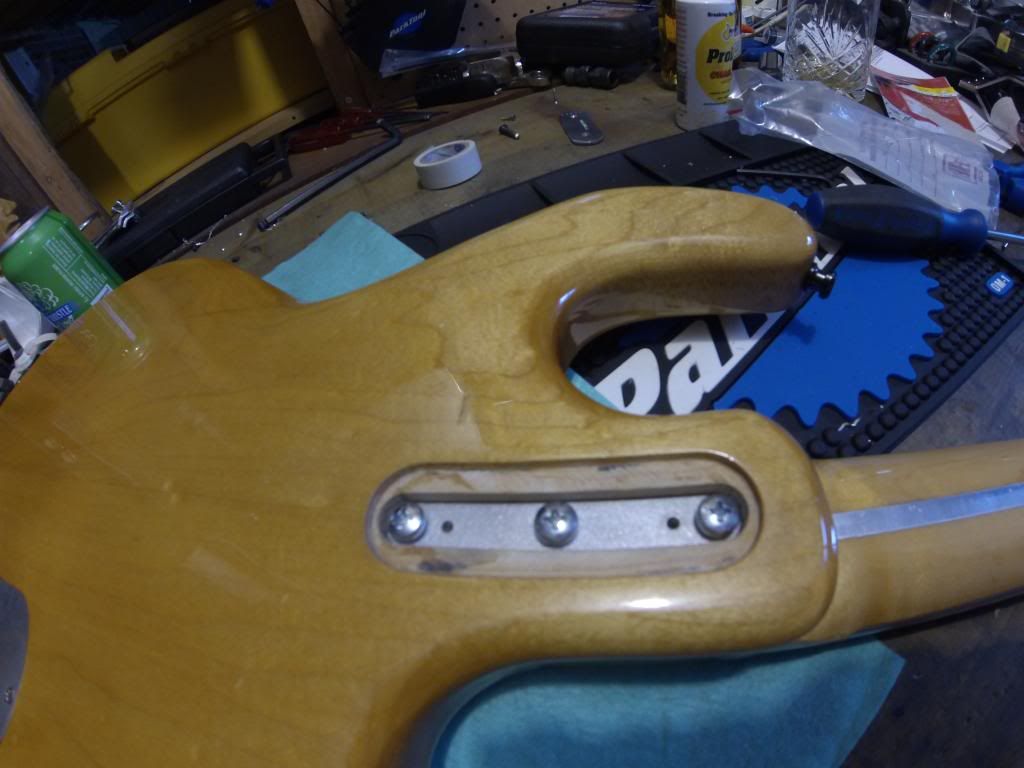
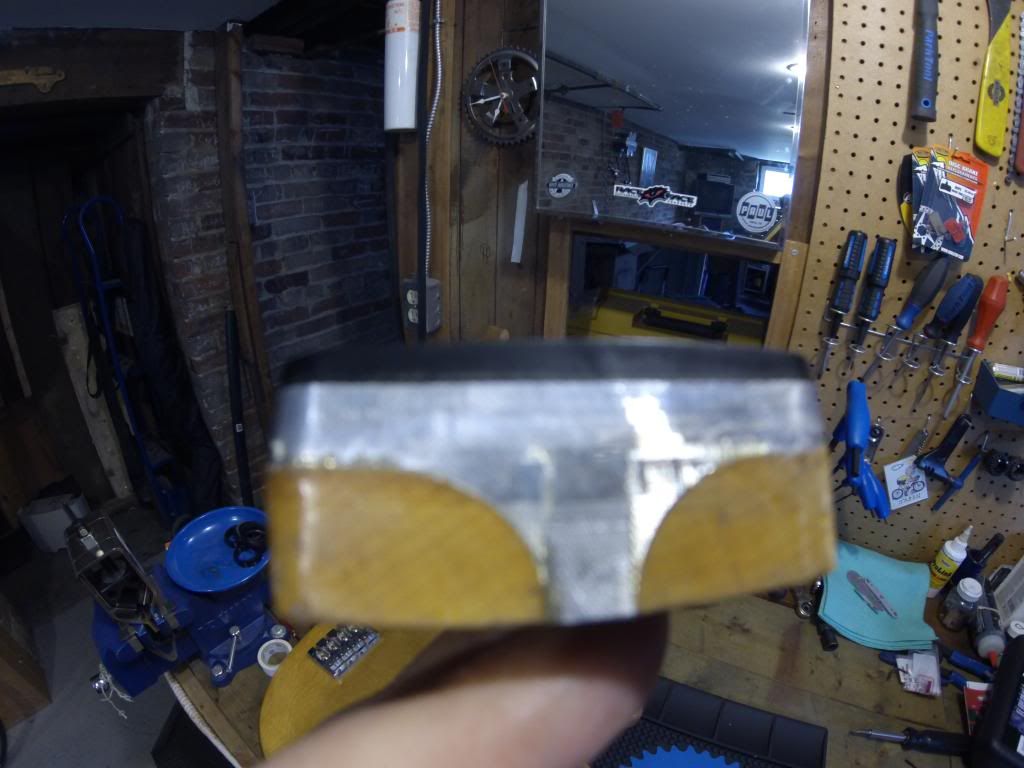
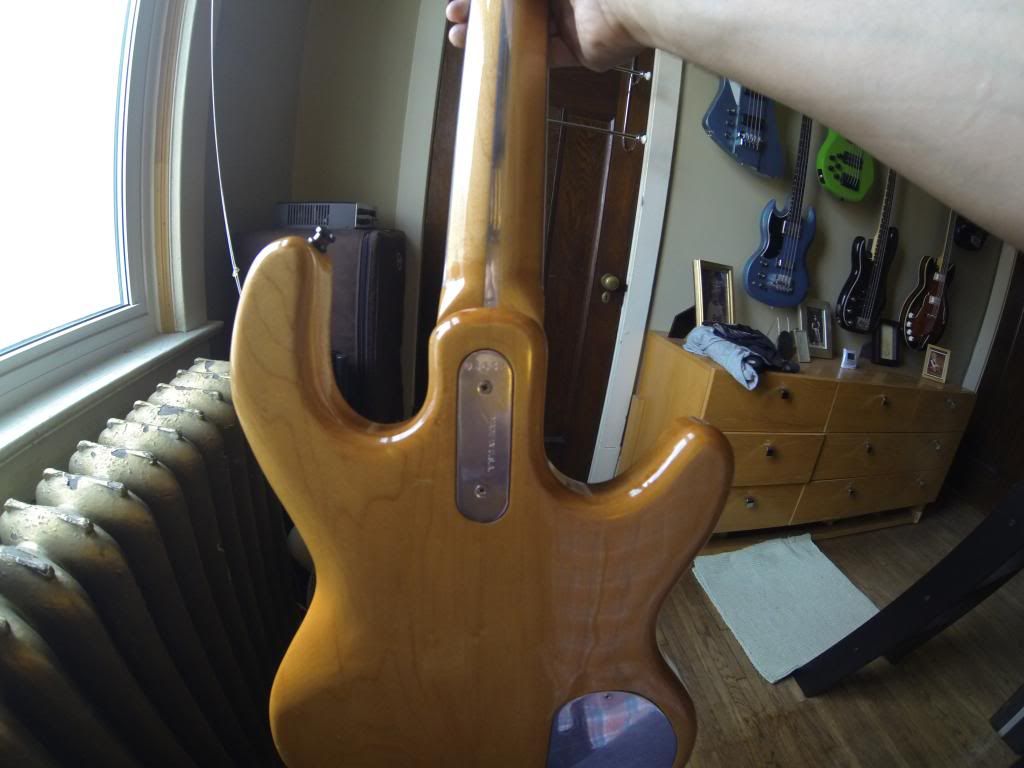
Re-installed the serial number/cover plate.
Re-strung and ready to play for another 36 years. I'm very happy about this. This bass sounds like nothing else I own. I was turned away at a local repair shop who wouldn't touch it.
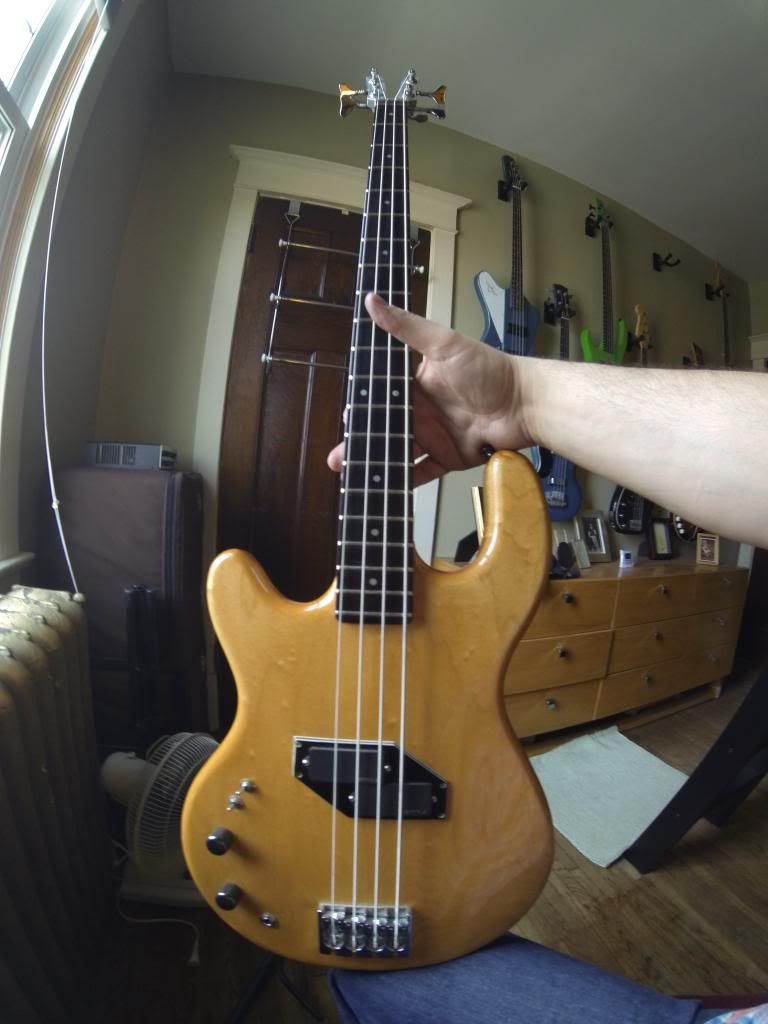
Satisfaction at a job well done. And fooey on the hipster douchebag guitar tech who told me it was toast. I guess he only wants to fix '57 LP Goldtops.

This is a little photo essay about my 1978 Kramer DMZ400 bass - with an aluminium neck - and the nail biting repair that I performed myself. I took these photos with a GoPro on maximum "fish eye" cuz that's all I had around. Sorry about the sometimes wacky perspective.
So... a bad thing happened. The threads that allow the bolts that secure the neck to this bass.... failed. This is a big problem because the neck is made of aluminium.....

I know the pic is slightly blurry but, where once there were pristine alloy threads, there are now just.... useless holes.

Here's a pic that shows the cross section of the aluminium neck at the heel. Sort of a "T" beam with wood inserts.

The repair I'm about to attempt will require some assistance in the form of good ol' "Irish Courage".

Gulp.......

It's time to dispense with the guitar/luthier tools. What we need for this monster is a good ol' M5 HeliCoil thread repair kit. Seems I may have just learned a thing or two having spent all that time around bicycles for all those years....

First thing I needed to do is drill out the holes in the neck. Completely removing the old damaged threads. (Most people would use a lightweight, battery operated drill for this. Not me. I use a big ass hammer drill.)

Reaching the point of no turning back....

Hard to see in the photo but, there are now absolutely no threads and the holes have been enlarged. You can see evidence of the aluminium filings on the bench...

Placing the supplied tap into my trusty tap/die handle.....

.... I begin to cut new threads in the larger diameter holes.

Time for more courage...

Now, you can see that all three holes have new threads in them. But wait, those holes are now too big for the M5 bolts you need to use?!?

No worries! This is where the HeliCoil insert - those little things that look like springs - comes into play.

Install the insert onto the HeliCoil installation tool to "wind up" the insert....

...and slowly thread the insert into the newly threaded hole.

LOOK AT THAT! A brand new set of M5 threads.

Remove the installation "tang" from the inside of the hole with hammer and punch.

Three brand new M5 threaded holes. According to HeliCoil, a repair made to aluminium threads with their inserts is many times stronger than the original threads.

Using brand new machine screws and lock washers, I cross my fingers, say a Hail Mary and thread the first screw in....

....It worked!! It's an Easter miracle! Neck back in placed and torqued to spec. (By spec I mean, "until it feels about right to me."

Re-installed the serial number/cover plate.

Re-strung and ready to play for another 36 years. I'm very happy about this. This bass sounds like nothing else I own. I was turned away at a local repair shop who wouldn't touch it.

Satisfaction at a job well done. And fooey on the hipster douchebag guitar tech who told me it was toast. I guess he only wants to fix '57 LP Goldtops.

