I thought it might be interesting to see the concept to completion workflow I used to complete a recent project. In some ways, this has proven to be the most difficult project I’ve worked – something I had not imagined possible, as both the neck and body were purchased in a ‘finished’ state. The difficulties are introduced by working with a painted body, and the huge burden it brought to keep things scratch/nick/dent free while working with various shop tools. Another impact was that all of the contours are completed – there are no straight or square edges to align to. Having built many bodies from rough materials, I can say that the modifications made to this body were significantly more difficult.
But on to the story ….
This project began as a series of PM’s between a fellow TBer and myself. Over the course of several weeks we nailed down a general idea of what this project would consist of, where the major components would come from, etc … A concept image was then created by Beav2K as a sanity check to see if it would actually look right

I put together a detailed parts sheet, and once we agreed that it covered the major components accurately it became time to order parts. The body and neck were ordered from a well known replacement parts vendor in the Northwest, and it was soon learned that they do not ship directly to a 3rd party – they would only ship directly to the person ordering the parts, so a second shipping would be required to get these parts here.
After the body and neck were ordered, we discussed a change to the pickup selection – a fantastic idea had blossomed … let’s order a custom Tele P5 SCPB pickup based on the specs for the original. Carey Nordstrand and team were most eager to tackle this challenge and about two months later the pickup and it’s matched Big Single arrived.
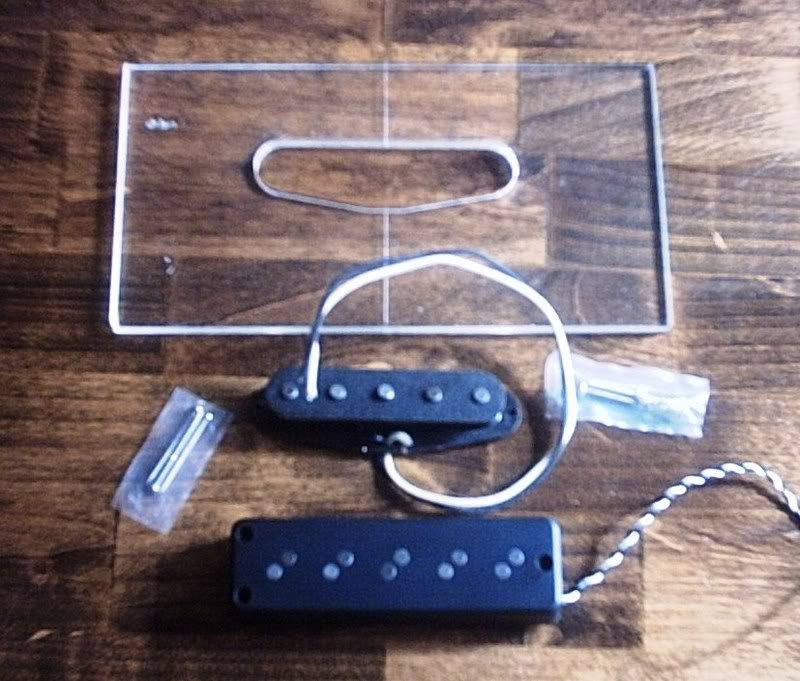
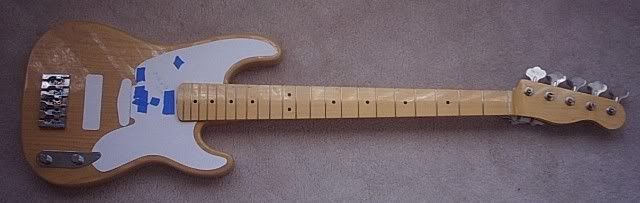
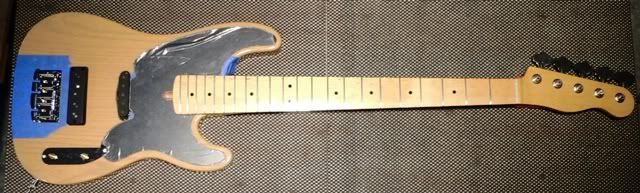
The body and neck eventually arrived, and it was finally time to start work. The first step after giving the neck and body an thorough inspection was to test the fit.
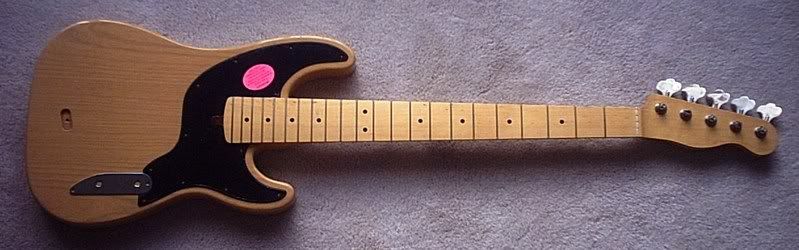
Everything was a go, with the exception that the pickguard didn’t really capture all the vibe of a ‘51Tele. Here’s the original pickguard followed by a replica ’51 P4 pickguard
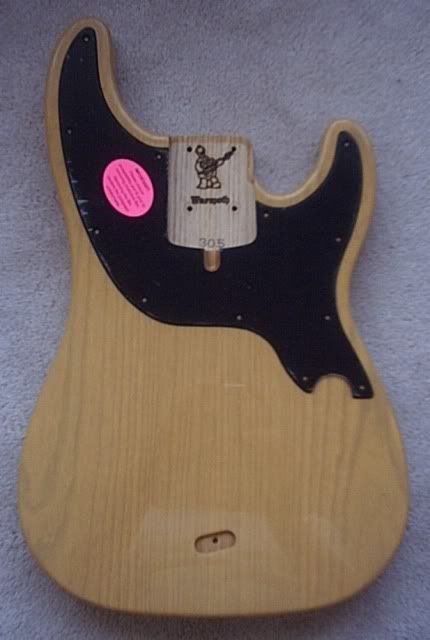
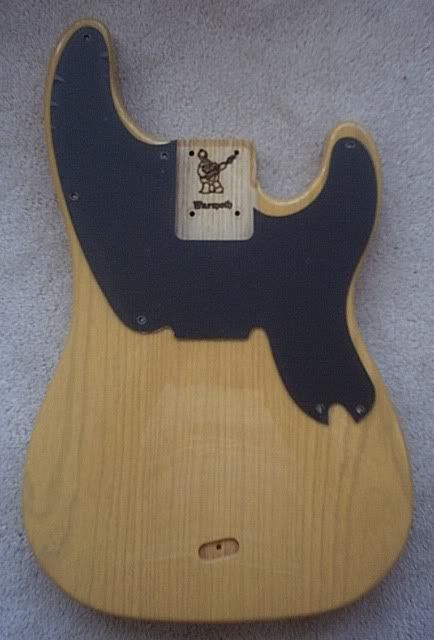
So before proceeding further, a new pickguard was designed.
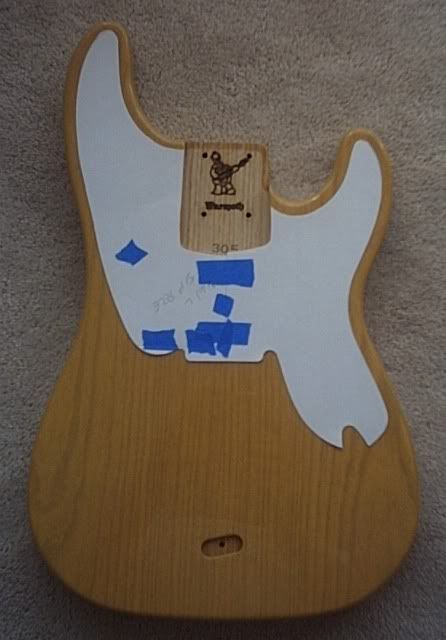
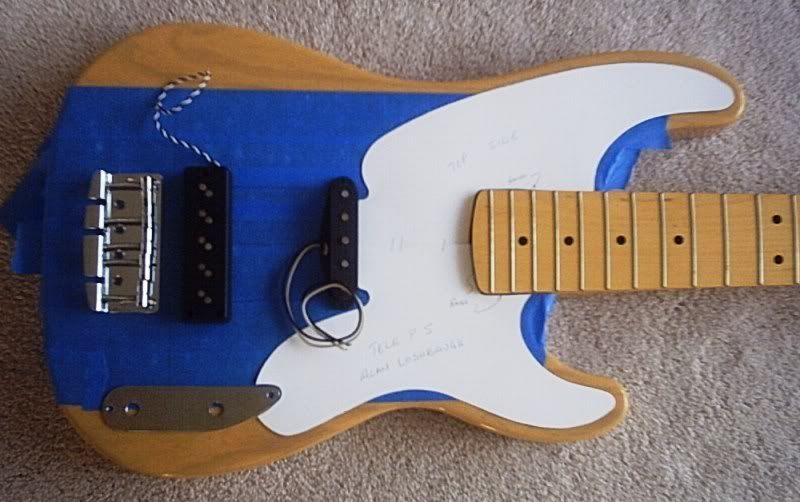
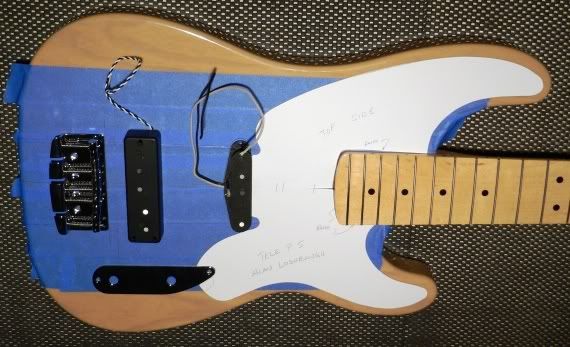
I then utilized painter’s tape to protect the top surface from becoming scratched, and it also provided a surface to mark the centerline on. A word of caution: if you do use tape, be sure to test the finish with the tape … the adhesive of some tapes will react negatively with some finishes (blue tape and lacquer are NOT compatible!!!) This body has a poly finish, so the tape was OK
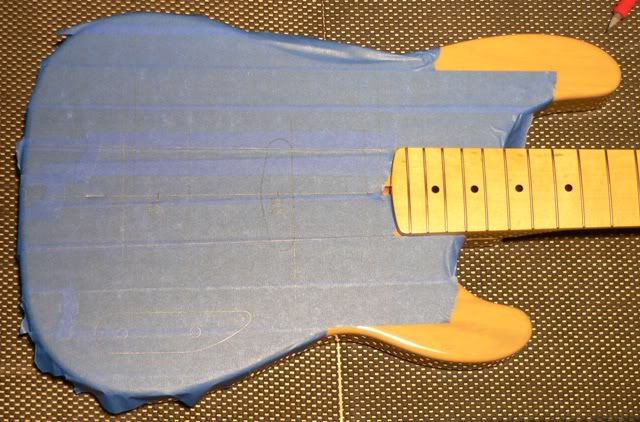
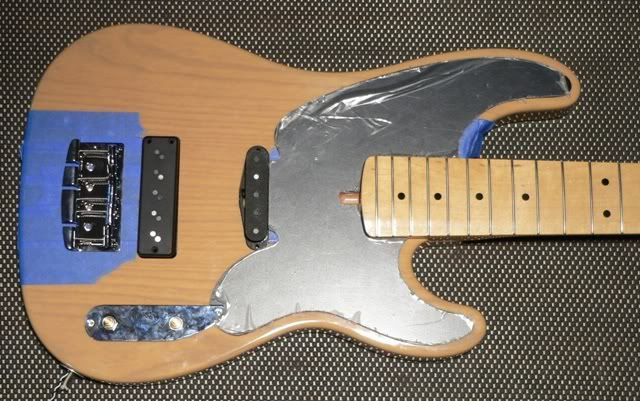
Quite a while back, a builder friend showed me how to establish the centerline on a body when all you have is the neck and no visible glue joint. I utilized this method to establish centerline and then began marking the locations for pickups and the bridge. It was not time to set the components in place for feedback on things
And another tweak to the pickguard finalized the design
A custom pickguard was made (see the details in another thread here in the Blueprinting and Bondo forum ) and tested
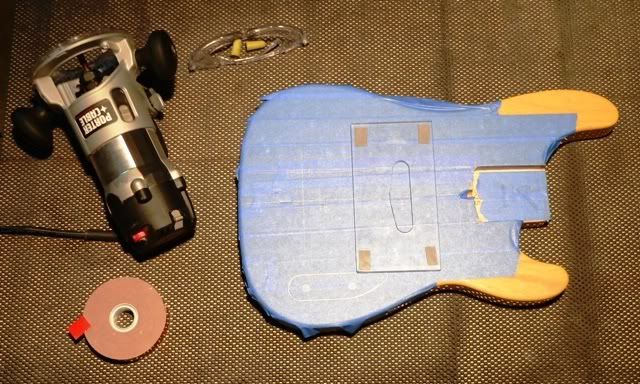
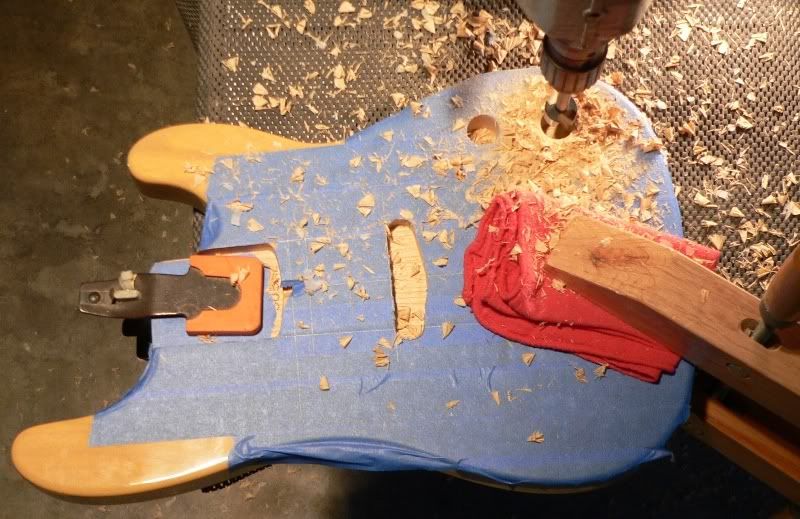
And then it was time to get to the routing work. Along with the custom SCPB pickup, I had also ordered a routing template to match. Careful marking identified the position where this was to be installed, so the template was set in place utilizing double stick tape
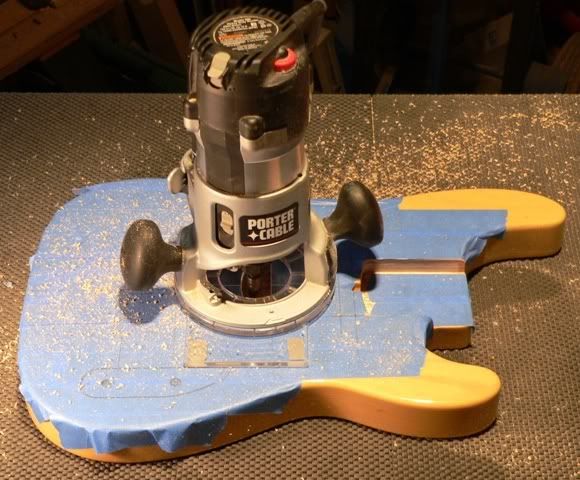
And routing began
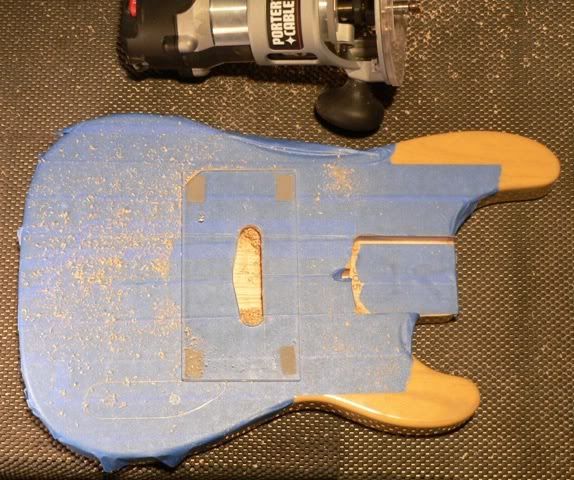
Here’s the completed neck pickup route
After this it was time to install the control cavity. The exact location had been determined earlier. I utilized a Forstner bit to rough out the cavity and save the life on my router bits, and completed things with a chisel and router
And a test fit of the assembled control plate to make sure that the depth and sides had plenty of clearance
For the Big Single pickup I needed to make a routing template. This began by marking out the centerlines, taking dimensions, and creating a set of bounding edges for a pattern bit to follow. It was critical to make this accurate, as the entire outer edge is clearly visible when the pickup is installed
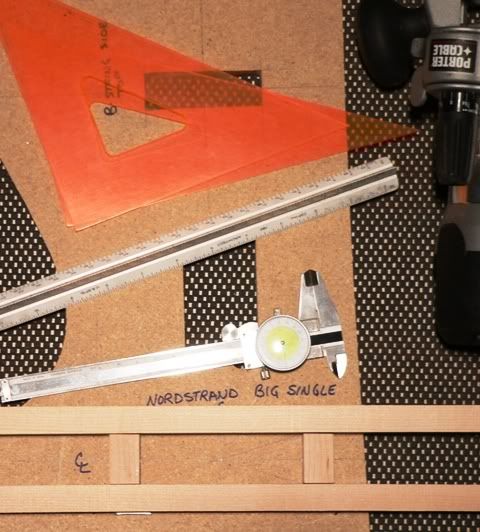
And a test fit of the template

I roughed out the cavity with a Forstner bit and followed up by cleaning things up with a router and the template.
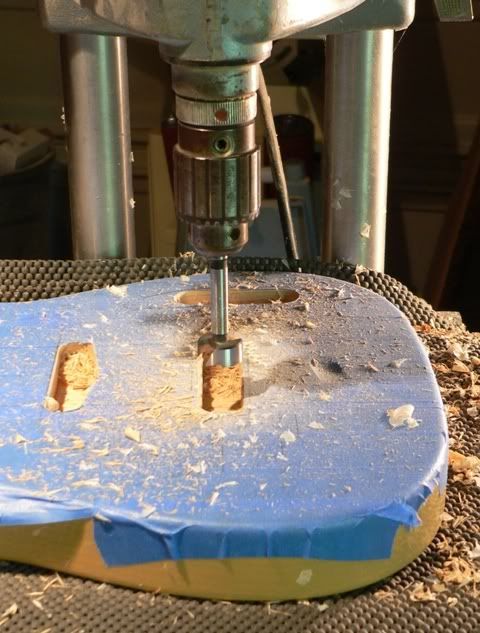
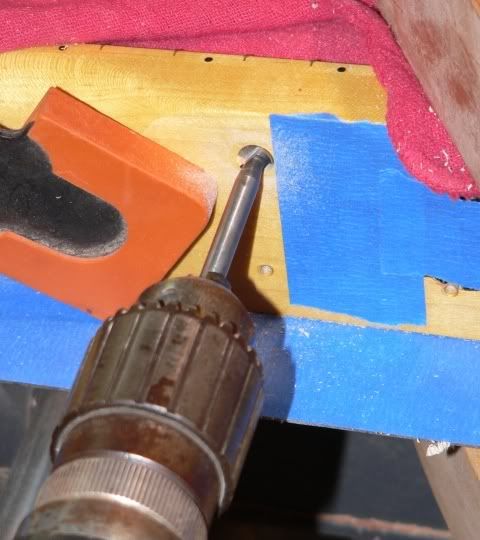
Next in line was to drill tunnels for the bridge ground and Big Single leads into the control cavity. For this I used a l-o-n-g 3/16” bit in a hand-held drill.
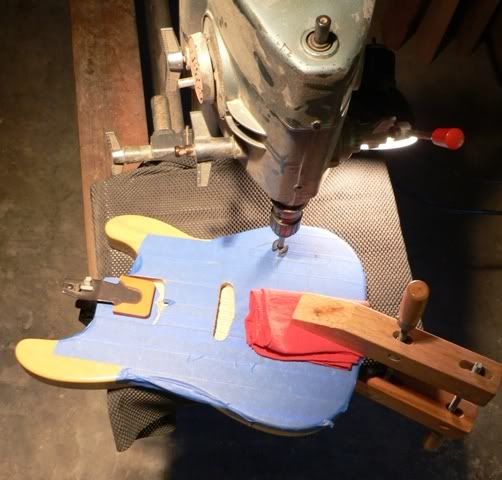
I next added the route for the jack utilizing a Forstner bit. I tilted my ShopSmith into the lathe position to make the drilling easier
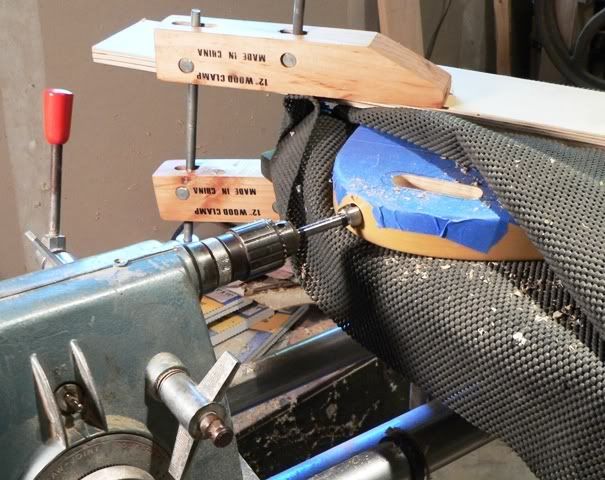
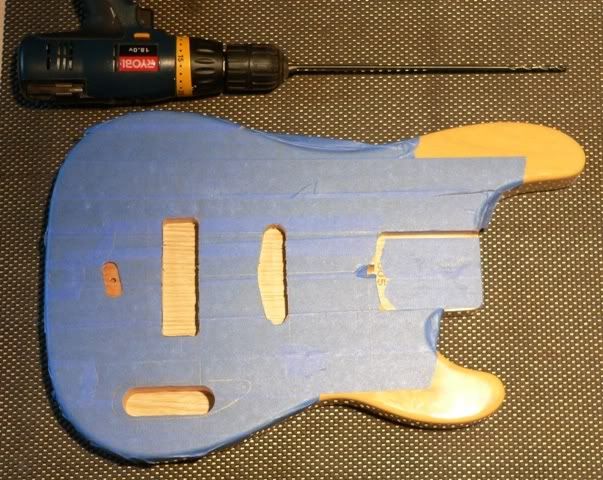
Once this route was in place I could then connect the neck pickup cavity route into the control cavity utilizing the jack route to drill towards the pickup cavity.
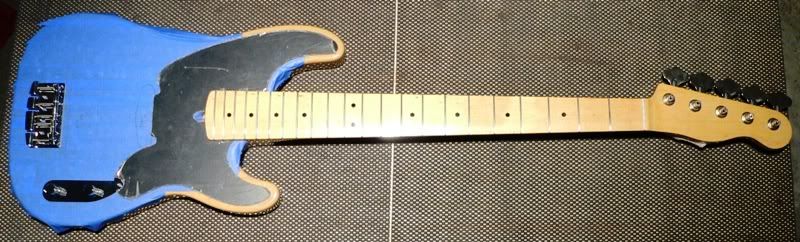
Time for a test fit of all the body cavities
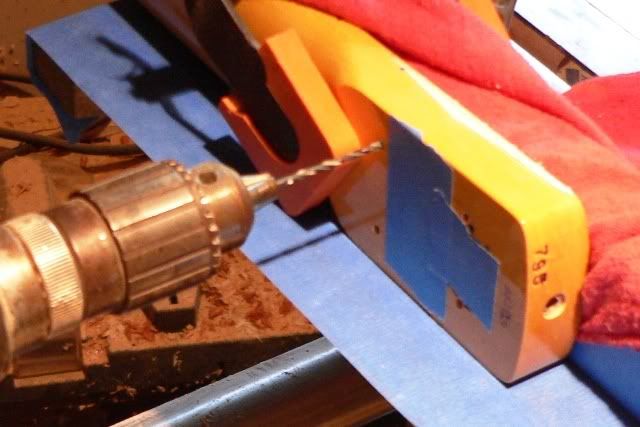
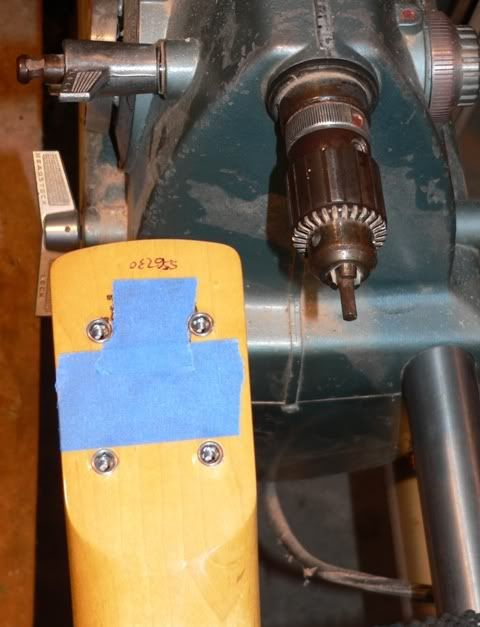
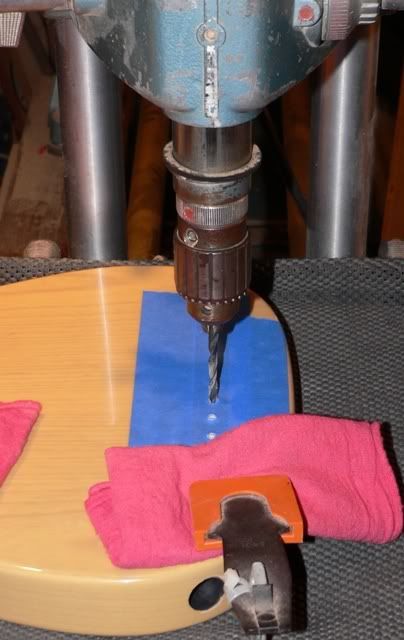
It was now time to move-on to installing the threaded inserts into the heel of the neck. After validating where the screws would penetrate, I blocked the neck into the ShopSmith and drilled a clearance hole for the insert. It is most important to drill the correct size hole – too big and you’ll get chip out, too small and you can crack the neck.
Step one was to center the drill on the location and lock everything down.
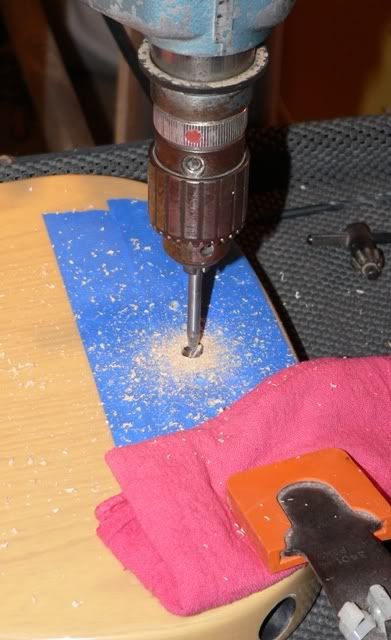
I then swapped bits and drilled the clearance hole.
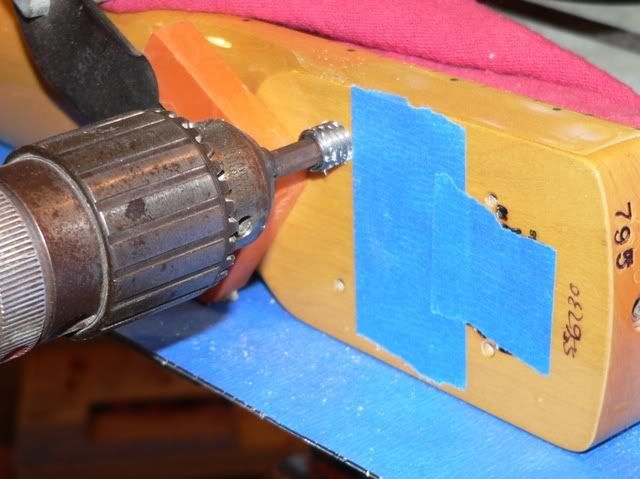
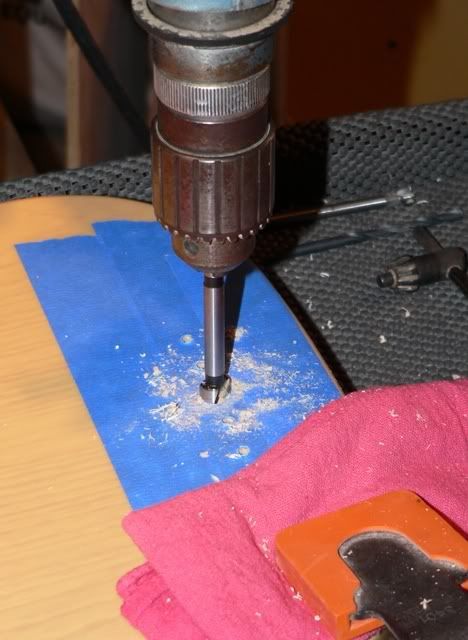
I then swapped out the bit for a hex drive bit that matched the hex size of the insert, and utilized pressure from the drill press to force the insert into the hole while using my hand to rotate the chuck forcing the insert to thread itself into the neck wood. For easier threading, utilize a little bit of bar soap on the threads before insertion.
The finished job with all four inserts installed
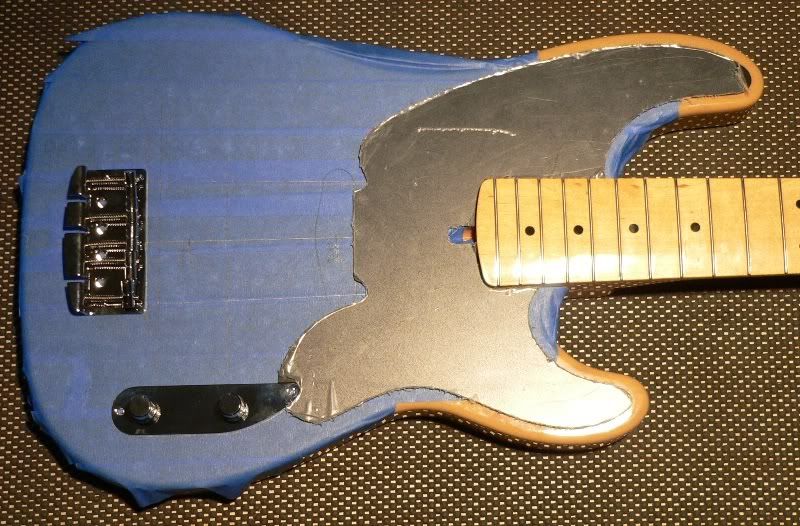
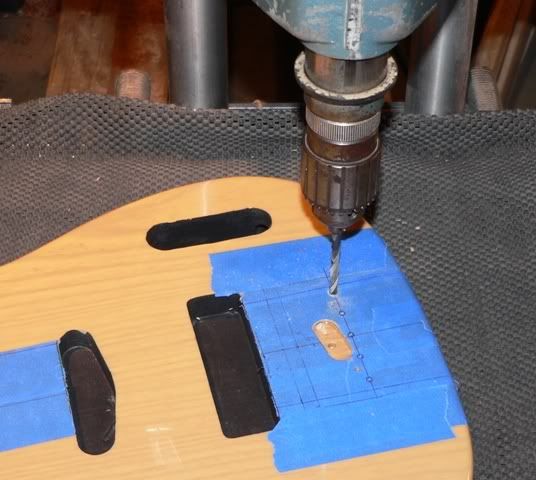
Now it was on to drilling the bridge mounting holes and thru-body stringing holes – my least favorite thing to do. I first drilled the bridge mounting holes, and then drilled five 3/16” dia holes centered on where the strings would be routed thru the bridge. FYI - that's three coats of shielding paint in each cavity
I then flipped the body over and re-centered the drill on one of the holes by inserting the same bit into the hole. The body was carefully secured to the table, and alignment was check to assure that the bit moved freely thru the previously drilled hole.
I then swapped out the bit to drill the hole for the ferrule shaft – proper sizing is critical, as the shaft is used for a press fit to keep the ferrule in place.
Without moving the press or body, I swapped bits to a Forstner bit to drill the spotface that allows the ferrule face to sit flush with the body
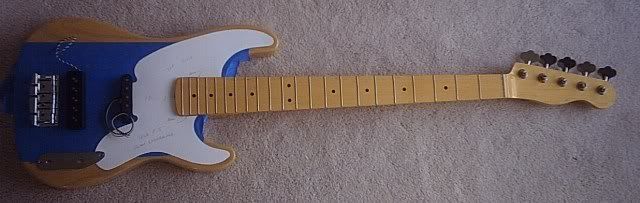
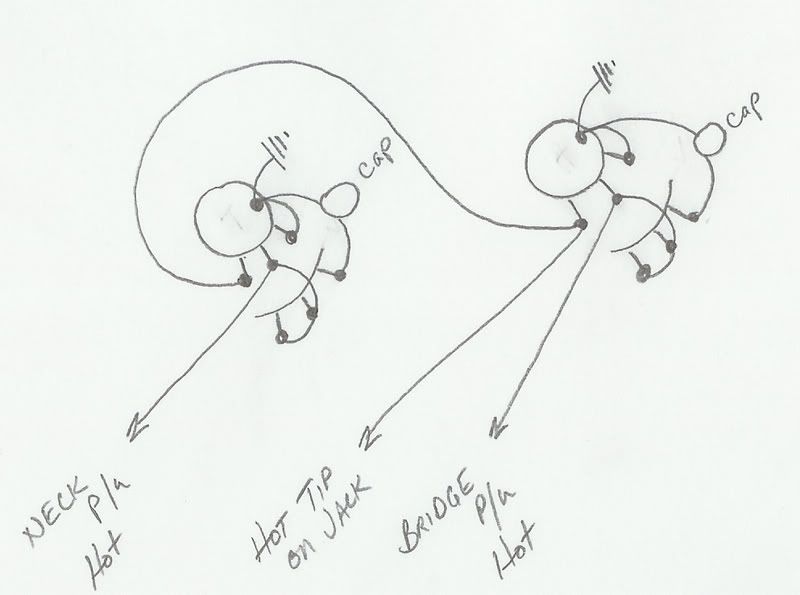
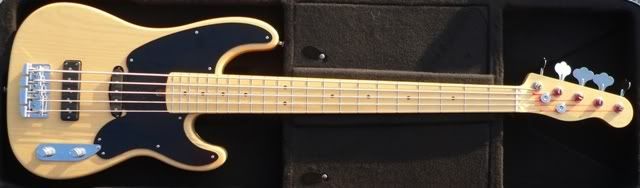
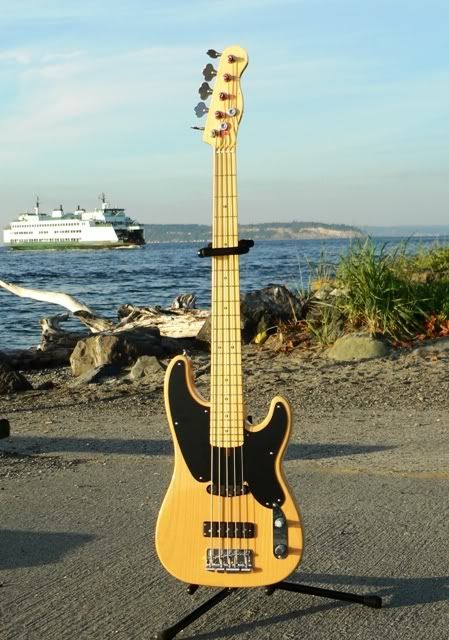
From here it was a simple wire-up job and standard assembly to attach all the pieces. I strung the bass up, gave it a preliminary intonation job, adjusted the trussrod, set the action, and gave it a final intonation. It sounds awesome and plays like a dream.
Clearly not all assembly jobs are this complex – in fact, most Warmoth/USACG/etc … type assembly jobs a significantly simpler because there is absolutely no routing to do. All of the work here was a pleasure to do, and I’d do it again without hesitation.
Here’s two parting shots
all the best,
R